Rocking Paper Mouse Craft with Cheese

Looking for a fun and easy craft for kids? 🐭 With just construction paper, scissors, and glue, little ones can make this adorable paper mouse craft with a slice of cheese to go with it. This simple project is perfect for cutting, folding, and gluing practice—and the end result is a cute mouse that looks ready to nibble on its cheesy snack!

Want to Save this Recipe or Activity?
Enter your email and we will send it straight to your inbox! You’ll also get the latest posts from Platein28!
By submitting this form, you consent to receive emails from Platein28.

Why We Love this Paper Mouse Craft
- Adorable! These little mice aren’t just cute—they even wobble and rock on their cheesy perch!
- No fancy supplies or big mess—just a bit of cutting, coloring, and gluing.
- Fine motor skills. Our paper mouse with cheese craft allows kids to put developing cutting, coloring, and gluing skills to good use.
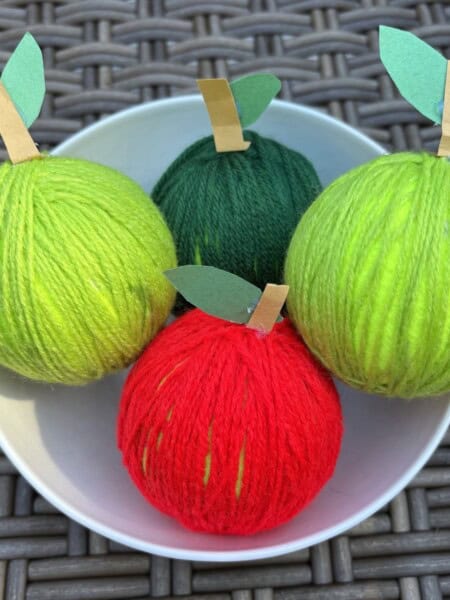
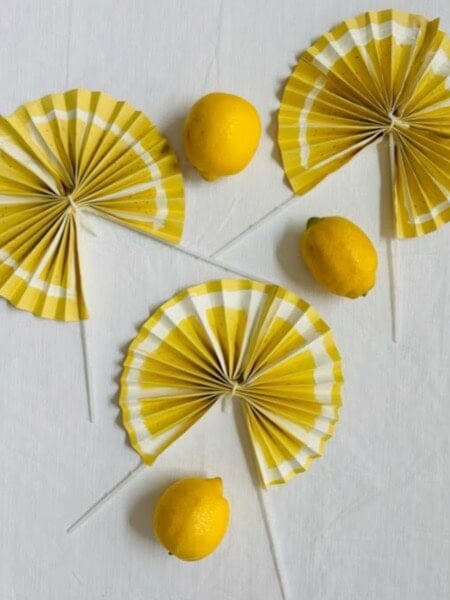
We love paper crafts because they’re simple, fun, and use supplies you probably already have at home. Plus, they’re perfect for kids of all ages—from preschoolers practicing their scissor skills to older kids who enjoy getting creative with details. If your little ones enjoy food- or animal-themed crafts, be sure to check out some of our other favorites like our bright and breezy paper lemon fans, simple handprint corn craft, and our sweet DIY piggy banks made from recycled materials!
🖍️ Supplies
Notes on key supplies are provided below. Please see the “how-to” card for a full list of supplies and quantities. Not pictured, black pom pom.

Construction paper– Blue, yellow, pink and black! You can also use card stock—it holds up well but might be trickier for younger kids to fold.
Markers– We used an orange marker to make our cheese holes and a black Sharpie for our mouse’s nose.
Googly Eyes– Don’t worry if you’re out—just grab a marker and add the eyes yourself.
Pom Poms (not pictured)– Totally optional but we thought a small black pom pom made a great nose for our rocking paper mouse!
✂️ Paper Cutouts
This paper mouse craft is all about cutting and gluing! Here are the paper pieces you’ll need to prepare.

📋 Instructions

Step 1. Cut a yellow circle about 3.5 inches wide and fold it in half. Add orange spots on one side to make it look like cheesy holes.

Step 2. Cut a 3-inch square of blue or gray paper and fold it in half. Cut a heart, fold the top down, then open it to see a mouse face with ears.

Step 3. Draw a black nose into your mouse’s face.

Step 4. Cut out and glue on pink inner ears, googly eyes, and black paper whiskers.
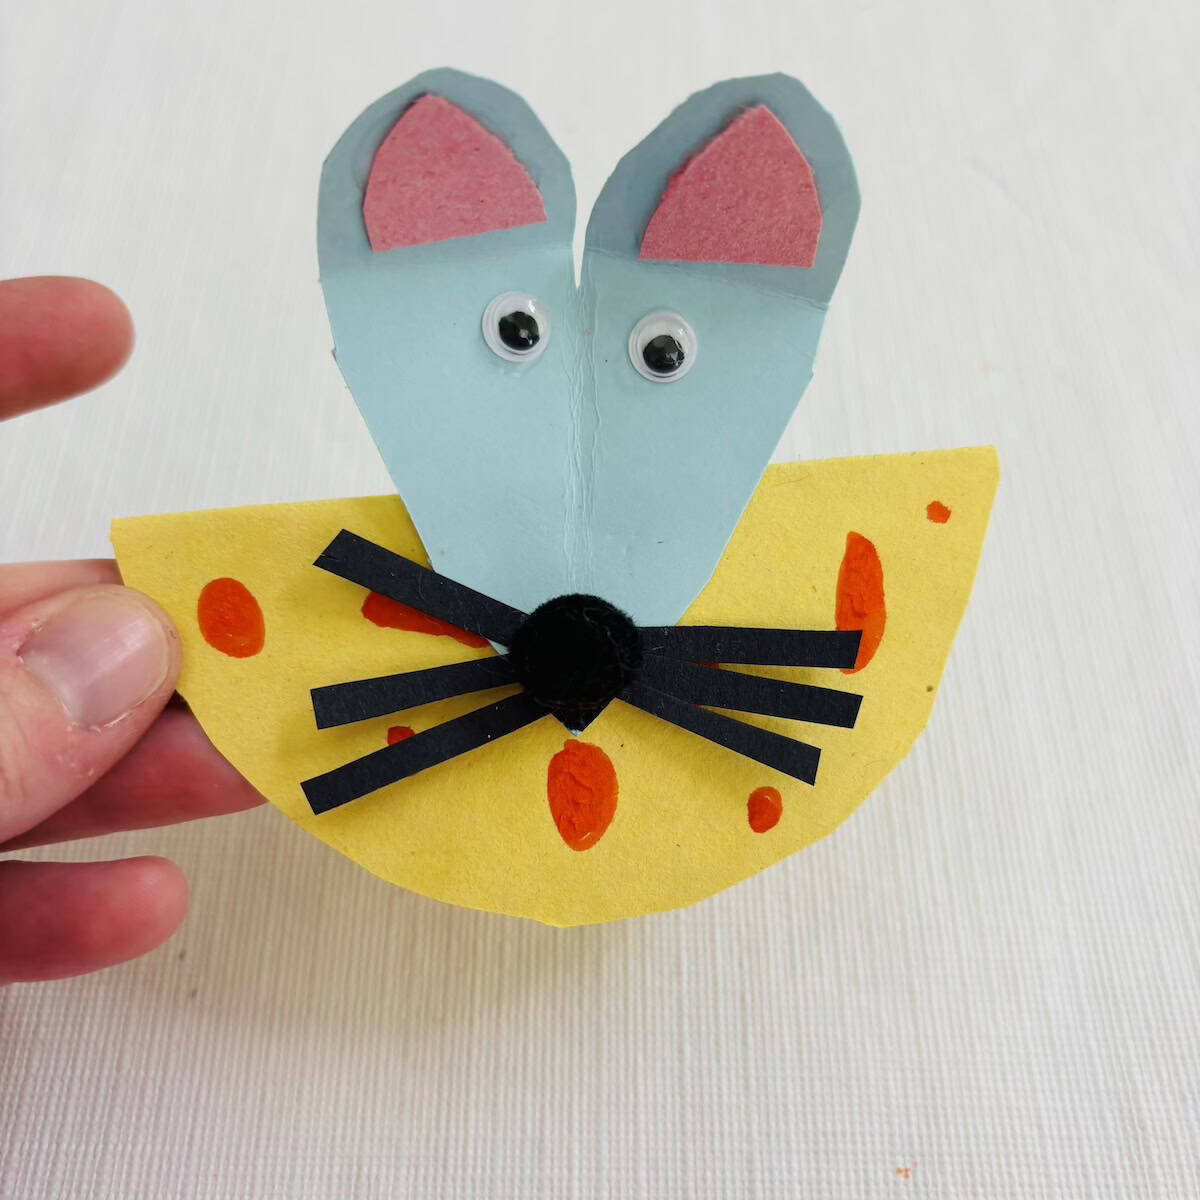
Step 5. Glue the mouse head to the cheese and enjoy your mouse wobbling on its cheesy treat.

✔️ Tips and Tricks
- Pre-cut the tiny pieces for younger kids, or make the mouse larger by scaling up the paper sizes. Bigger pieces are easier to cut and glue.
- Be sure to fold the cheese evenly– If the yellow circle isn’t folded correctly or the mouse head is glued off-center, the craft may tip instead of rocking. Refold the cheese neatly and position the head so it’s balanced.
- Use craft glue for best results. We found Elmer’s Craft Bond All Purpose Craft Glue gives a strong, long-lasting hold. Keep in mind that the glue can take up to 30 minutes to dry, so be sure your mouse is completely dry before rocking it!
- For a stronger mouse, use cardstock with older kids. For younger ones, construction paper is gentler and simpler to work with.
- Experiment with the size of your paper mouse! We used a 3.5-inch circle for the cheese and a 3-inch square for the head, but you can easily scale them up for a bigger, bolder mouse and cheese craft.
❓ FAQ
Make sure the cheese is folded neatly. An uneven fold or off-center head can cause the mouse to tip instead of rock. Adjust the fold and head placement for balance.
No problem! Just draw eyes with a marker, or cut out small white and black paper circles.
Yes! Kids can color or paint their mouse and cheese after cutting. This makes the paper mouse craft more customizable.


Want more crafts?
Sign up below to get crafts and recipes straight to your inbox plus make sure to follow on your favorite social!

Paper Mouse Craft with Cheese
Equipment
- 1 Pair of scissors
Supplies
- Construction paper (blue/gray, yellow, pink and black)
- Markers (orange)
- Black Sharpie
- Googly eyes
- Pom Poms (black, optional)
Instructions
- Cut out a yellow circle, about 3.5 inches wide, and fold it in half. On one side, draw or color in orange spots to make your cheese look full of holes.

- Cut a 3-inch square of blue or gray paper and fold it in half. Cut out a heart shape, then fold the top of the heart downward. Open it up and gently extend the folds to reveal a mouse face with ears.
- Use a black Sharpie to color a black nose at the bottom of your heart.
- Cut out and glue on pink inner ears, googly eyes, and thin black paper strips for whiskers.
- Glue the mouse head onto the yellow cheese, then enjoy your adorable rocking mouse with its cheesy snack!


Video
Notes
-
- To make it easier for little kids – pre-cut the tiny paper pieces or use larger paper sizes.
-
- So the craft doesn’t tip over – just be sure to fold the cheese evenly & glue the mouse head in the center.
-
- We recommend using Elmer’s Craft Bond All Purpose Craft Glue for the strongest, long-lasting hold.
-
- For a stronger mouse, use cardstock with older kids. For younger ones, construction paper is easier to handle.
-
- Experiment with the size of your paper mouse! You can easily scale the paper sizes up for a bigger, bolder mouse-and-cheese craft.