DIY Piggy Banks with Tissue Boxes

If you’ve ever wondered how to make a DIY piggy bank at home, we have the most simple and adorable craft for you. And it’s made with a household staple: tissue boxes! Behold, our farm animal piggy banks!
Want to Save this Recipe or Activity?
Enter your email and we will send it straight to your inbox! You’ll also get the latest posts from Platein28!
By submitting this form, you consent to receive emails from Platein28.
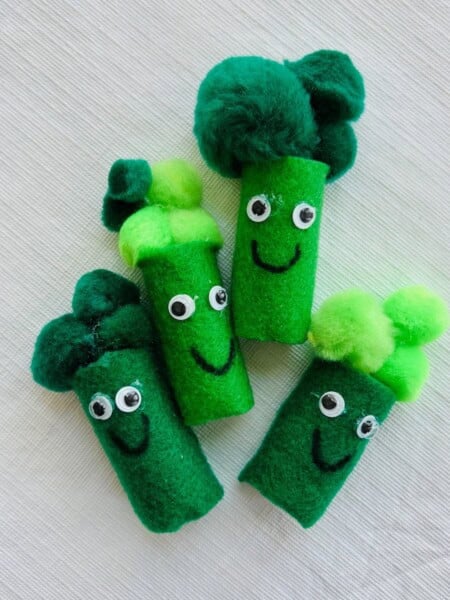
If you have a soft spot for crafting with paper or cardboard, don’t forget to take a look at our delightful Chicken Craft made from toilet paper rolls and our Play Food Asparagus.

Why We Love DIY Piggy Banks!
- Trash to treasure! What better way to reuse empty tissue boxes than by transforming them into adorable DIY piggy banks!
- Completely functional. The finished product is an actual, usable piggy bank!
- Environmentally friendly. Not only do upcycled crafts encourage kids to think creatively, they also teach kids the value of conserving resources and caring for the environment.
- Minimal mess. No paint involved here, just some basic cutting, gluing and coloring.
- Fine motor skills. Our DIY piggy banks allow kids to put developing cutting, folding, and coloring skills to good use.
🛒 Supplies

Notes on supplies:
Construction paper– If you don’t have pink and black paper, just use colored pencils or crayons on white paper.
Glue– We love Elmer’s Glue but tape will also work!
🐷 How to make a Piggy Bank at Home
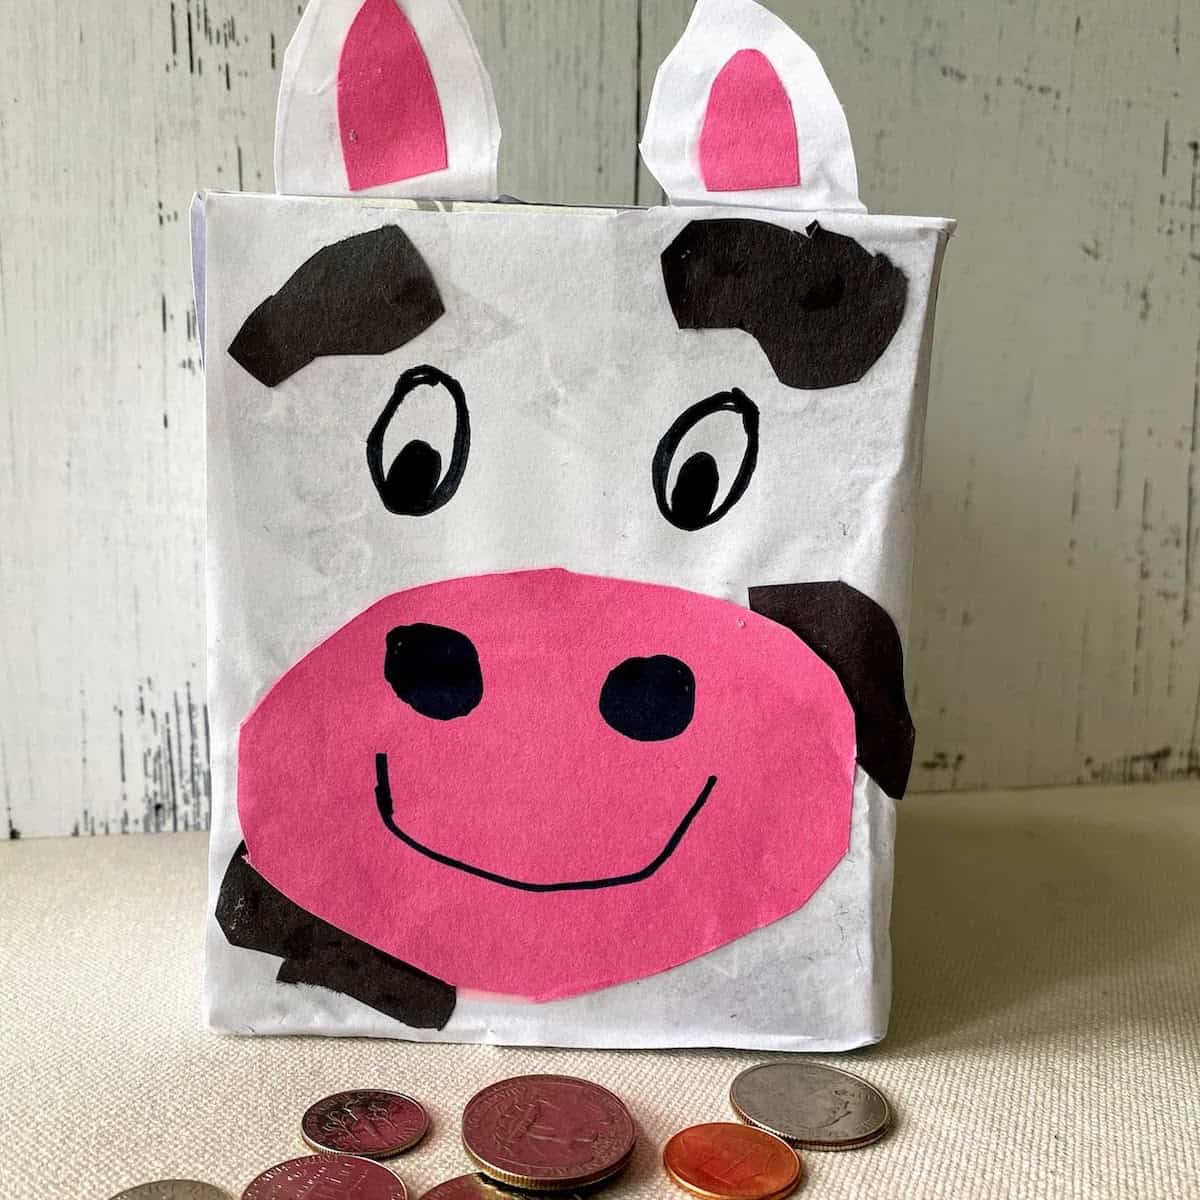
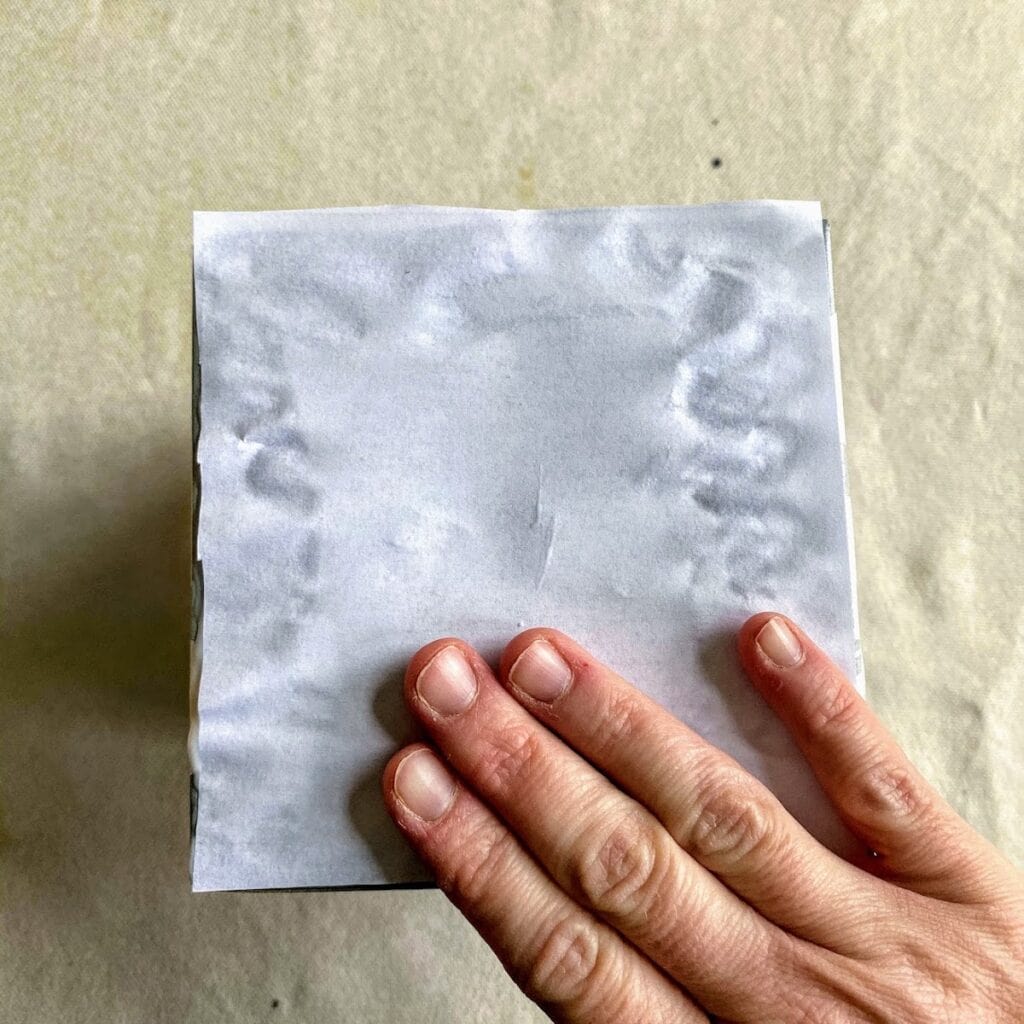
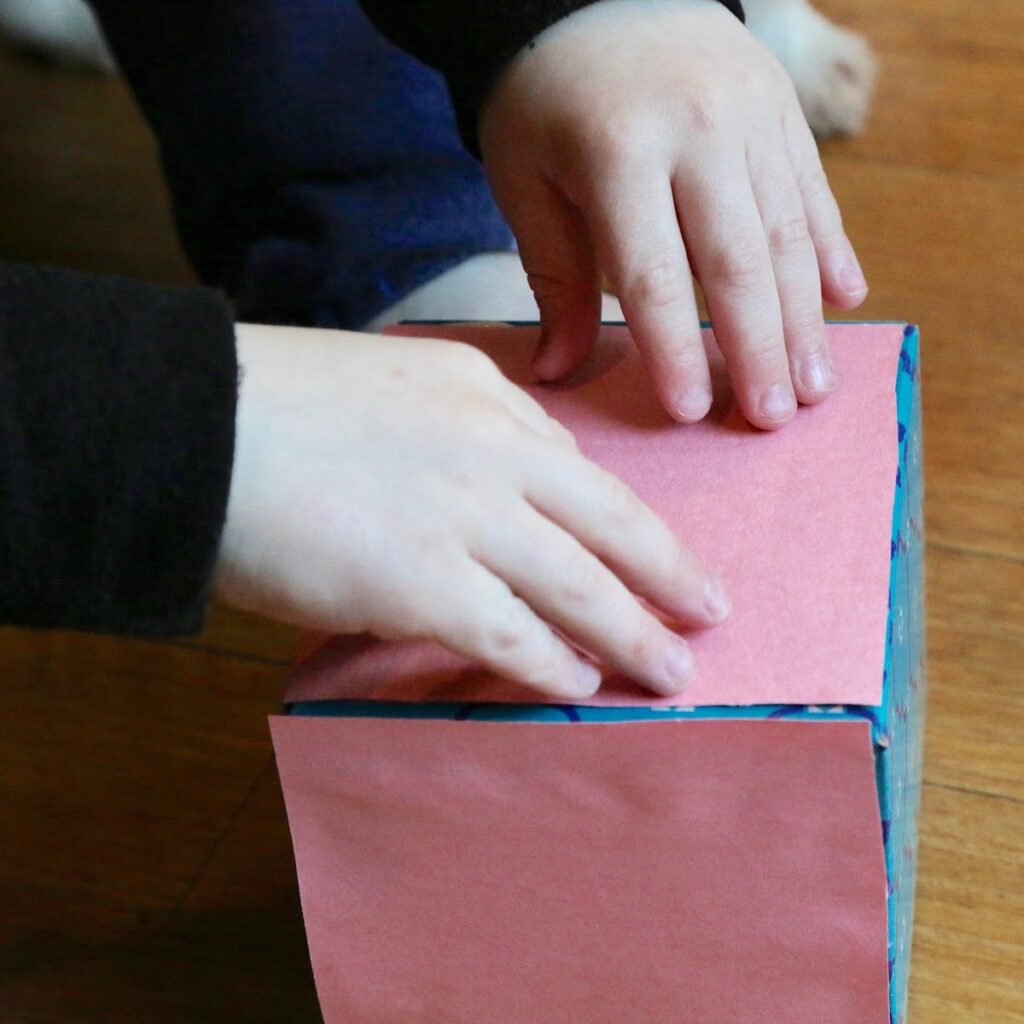
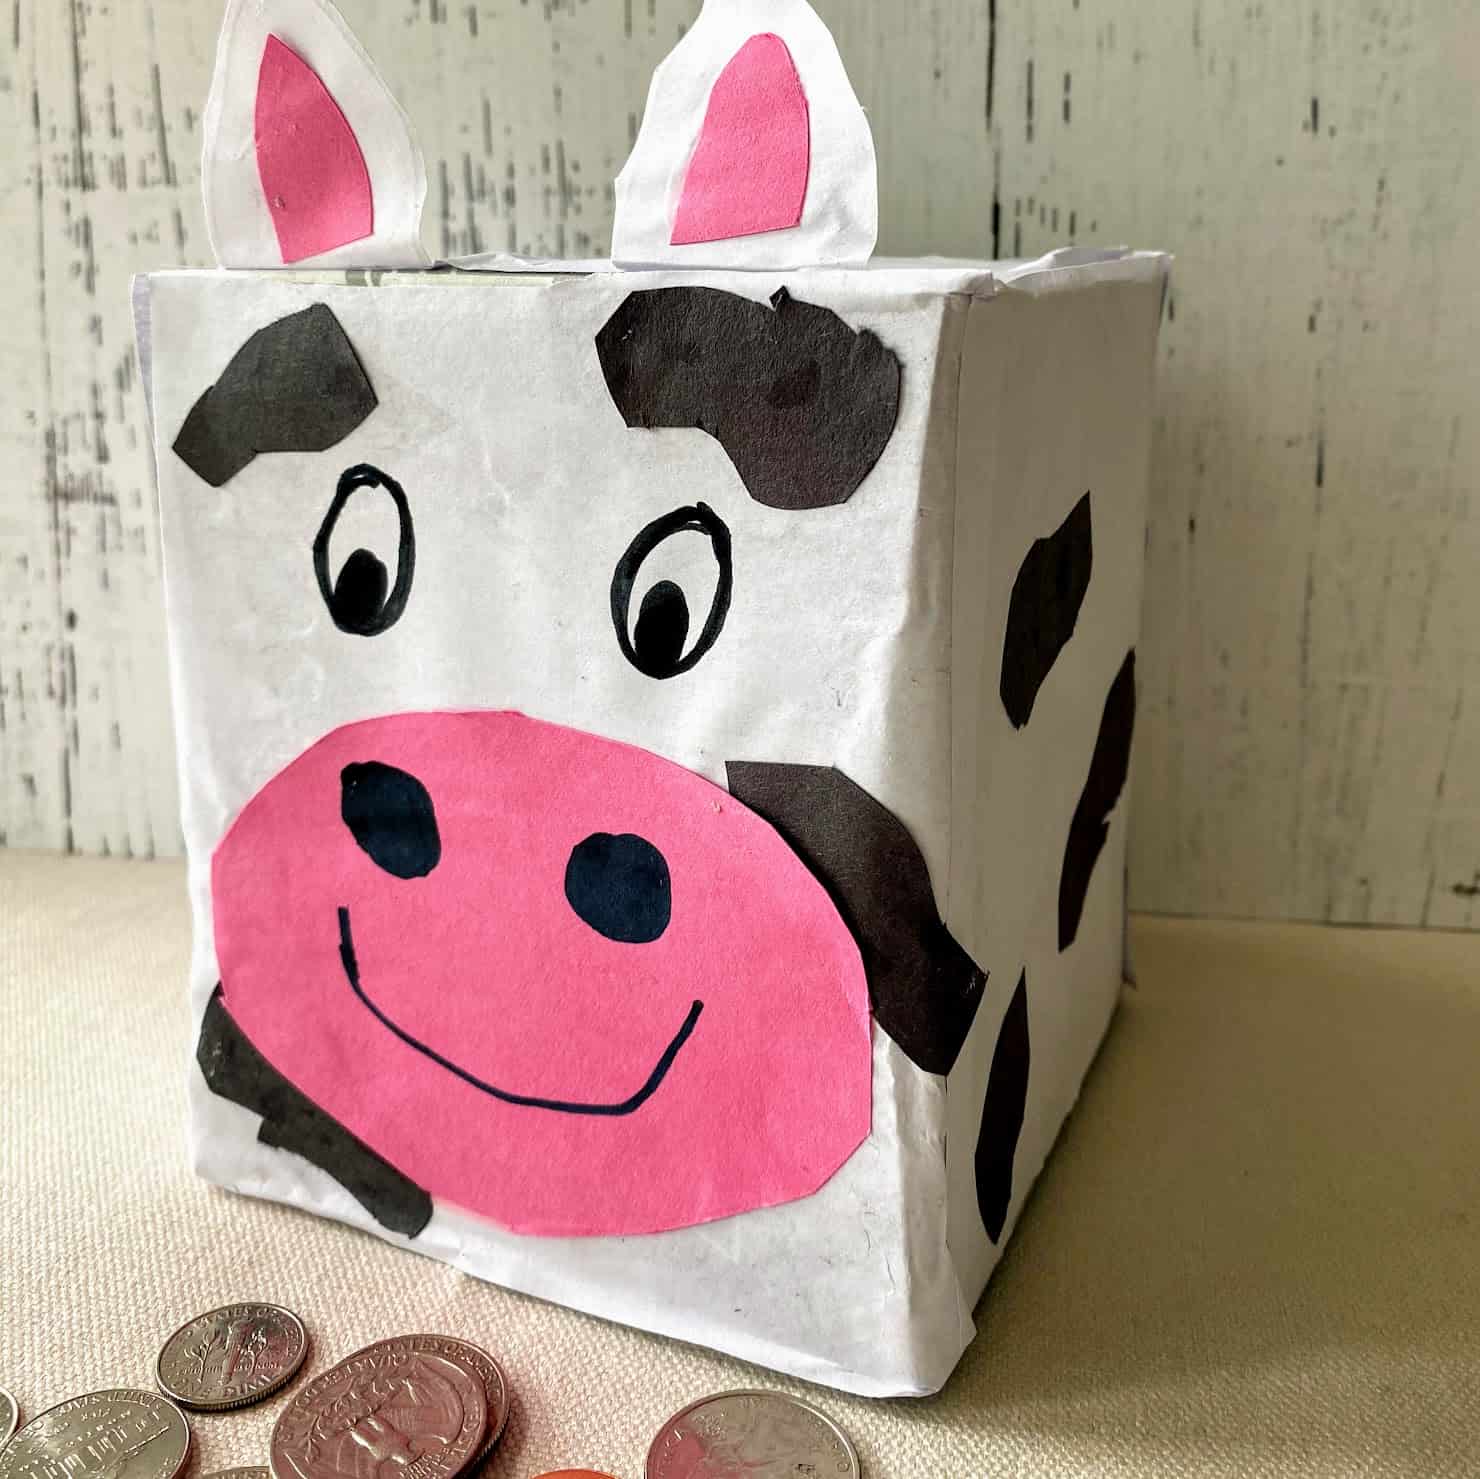
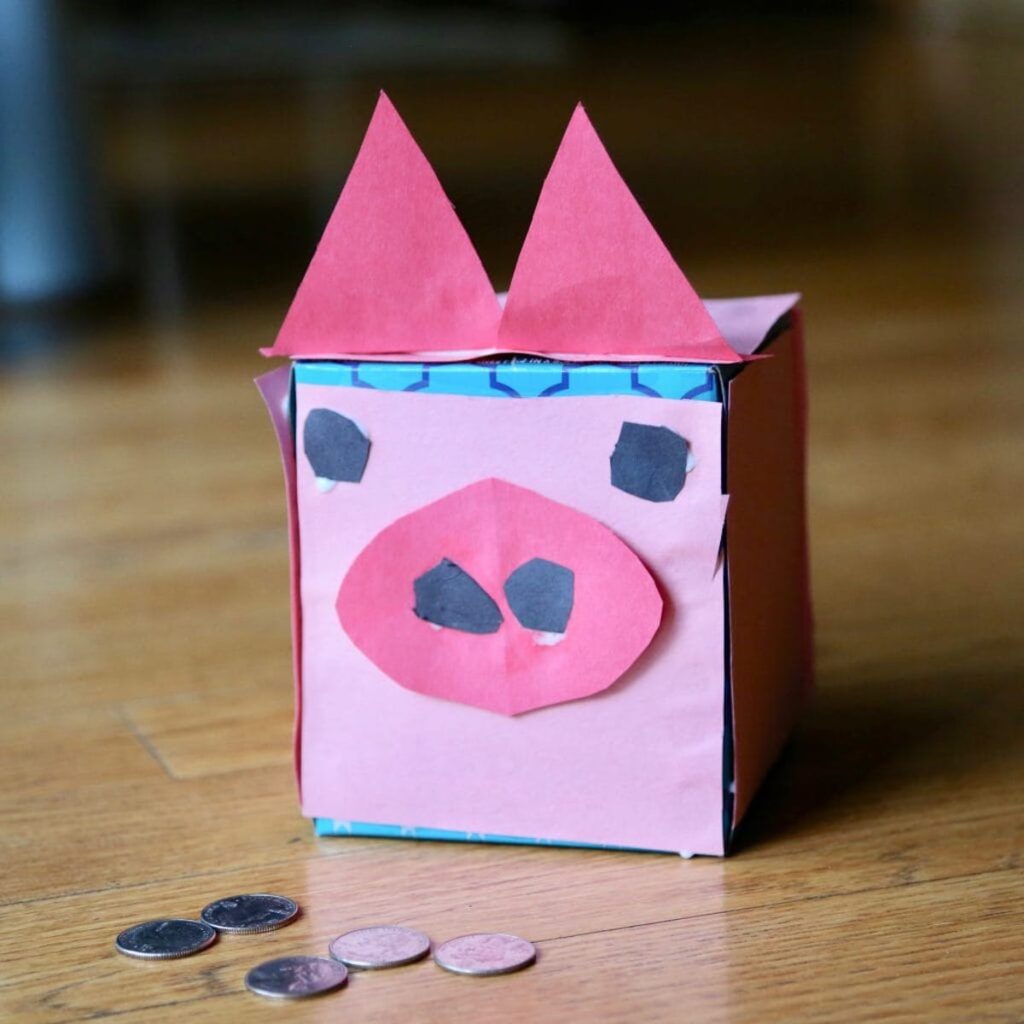
Step 1: Cover every side of the tissue box with construction paper. If making a pig, use pink construction. For a cow, use white construction paper.
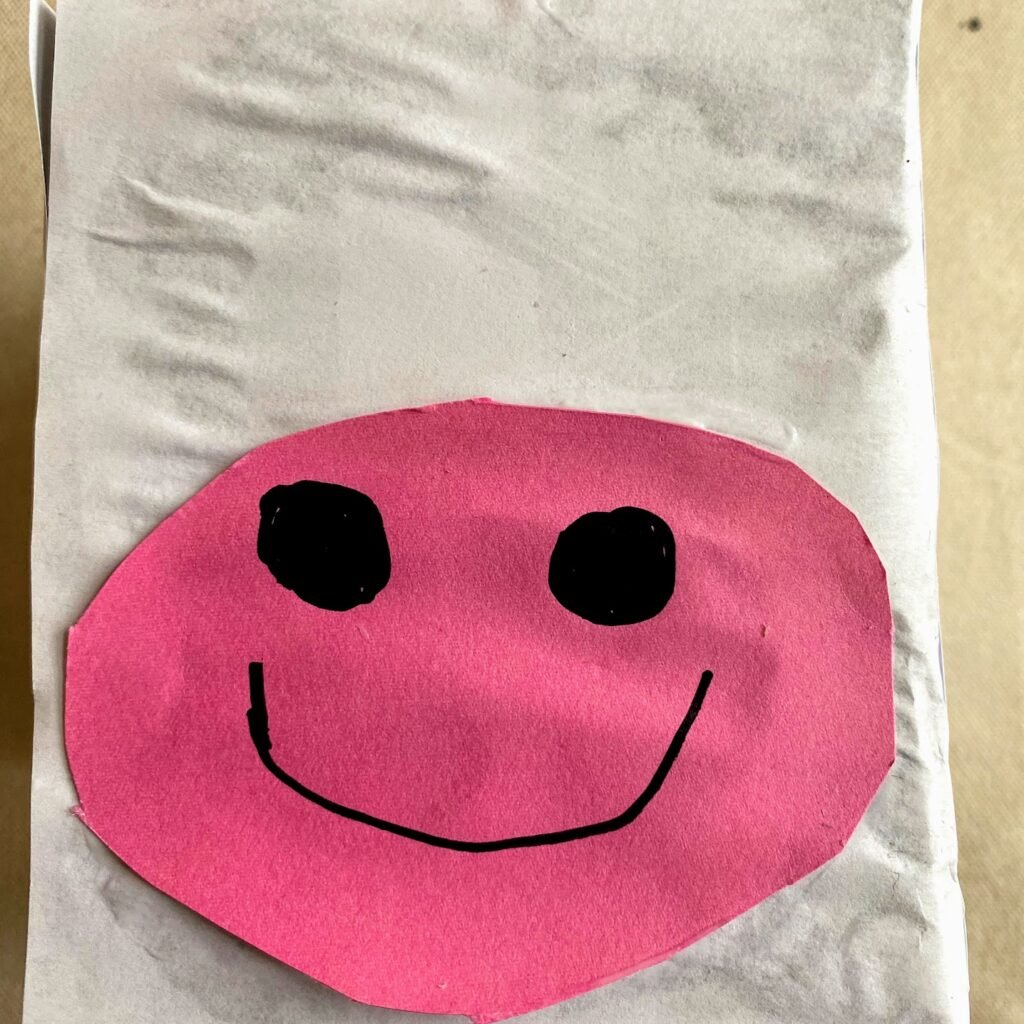
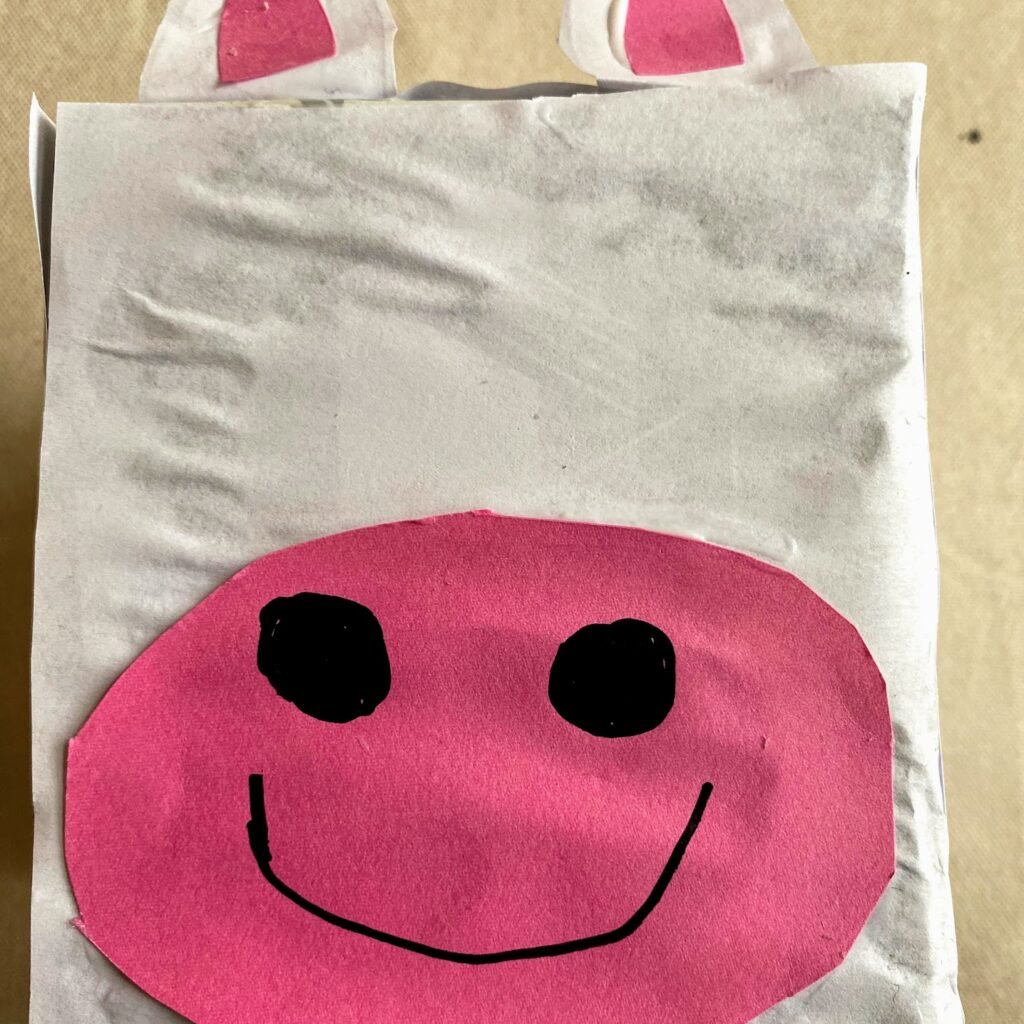
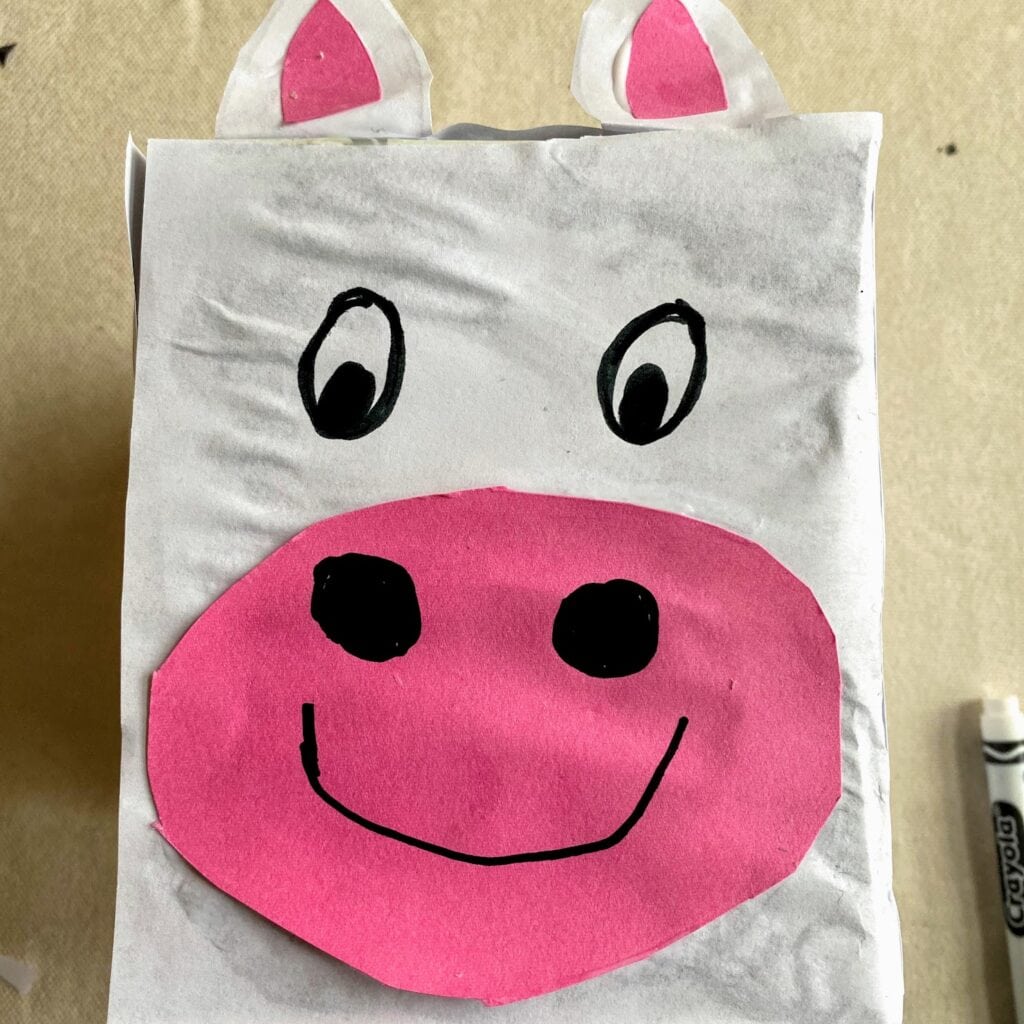
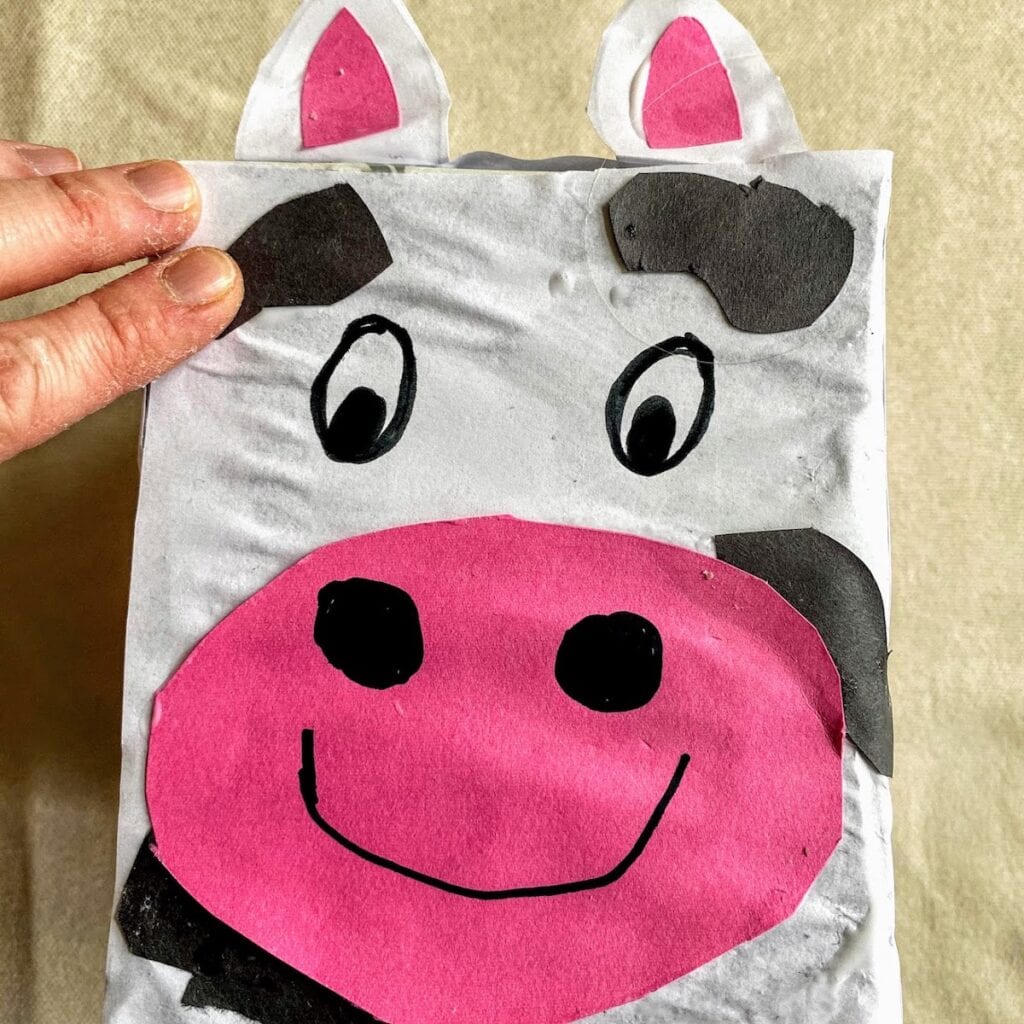
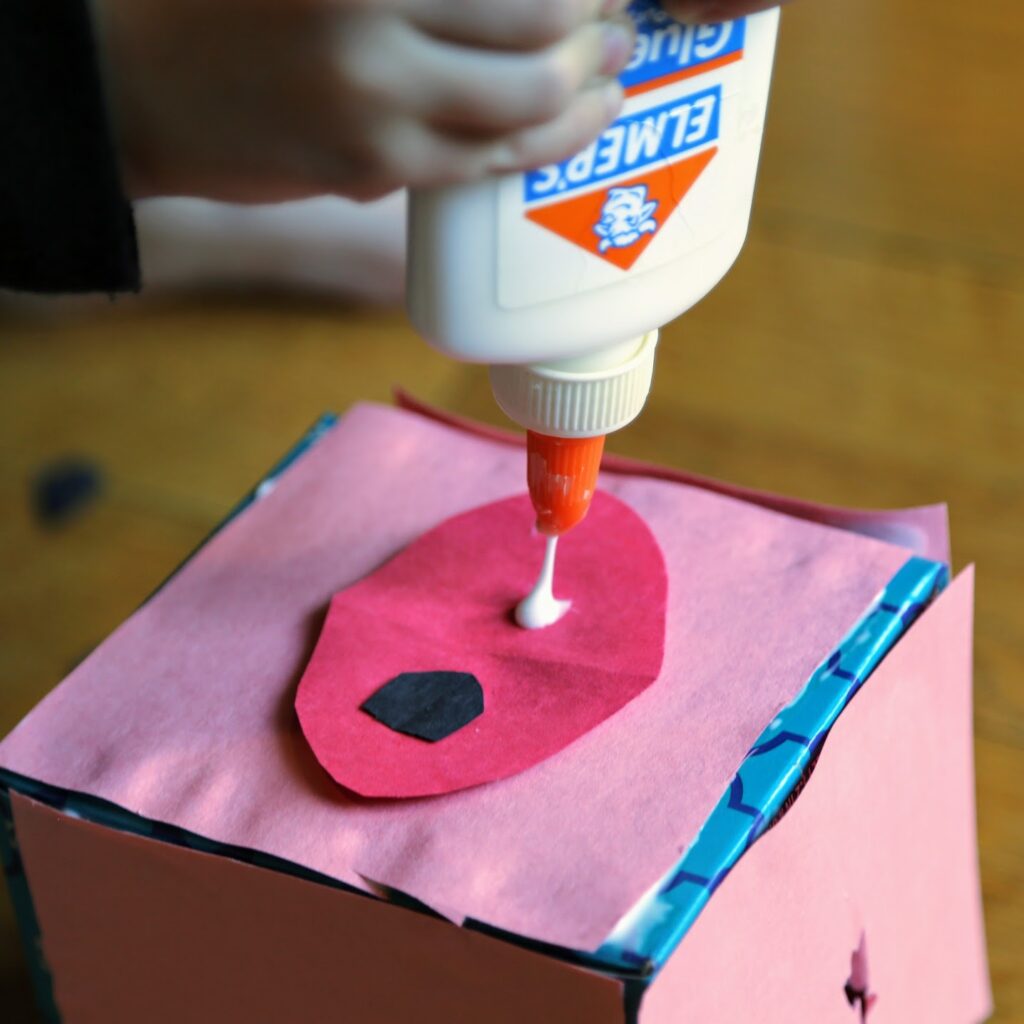
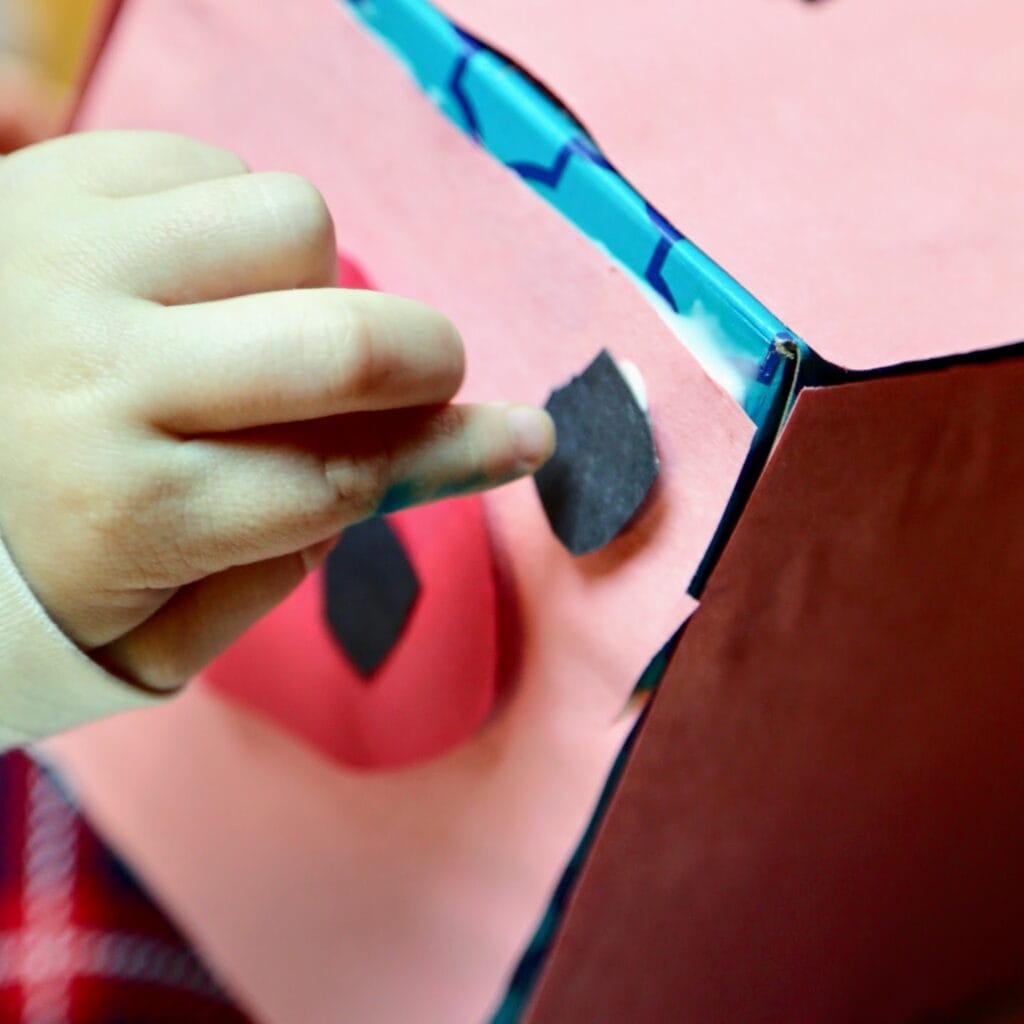
Step 2: Decorate your piggy bank’s face! Use construction paper to make snout, ears, eyes and spots (for a cow); and snout, ears, eyes, and tail (for a pig).

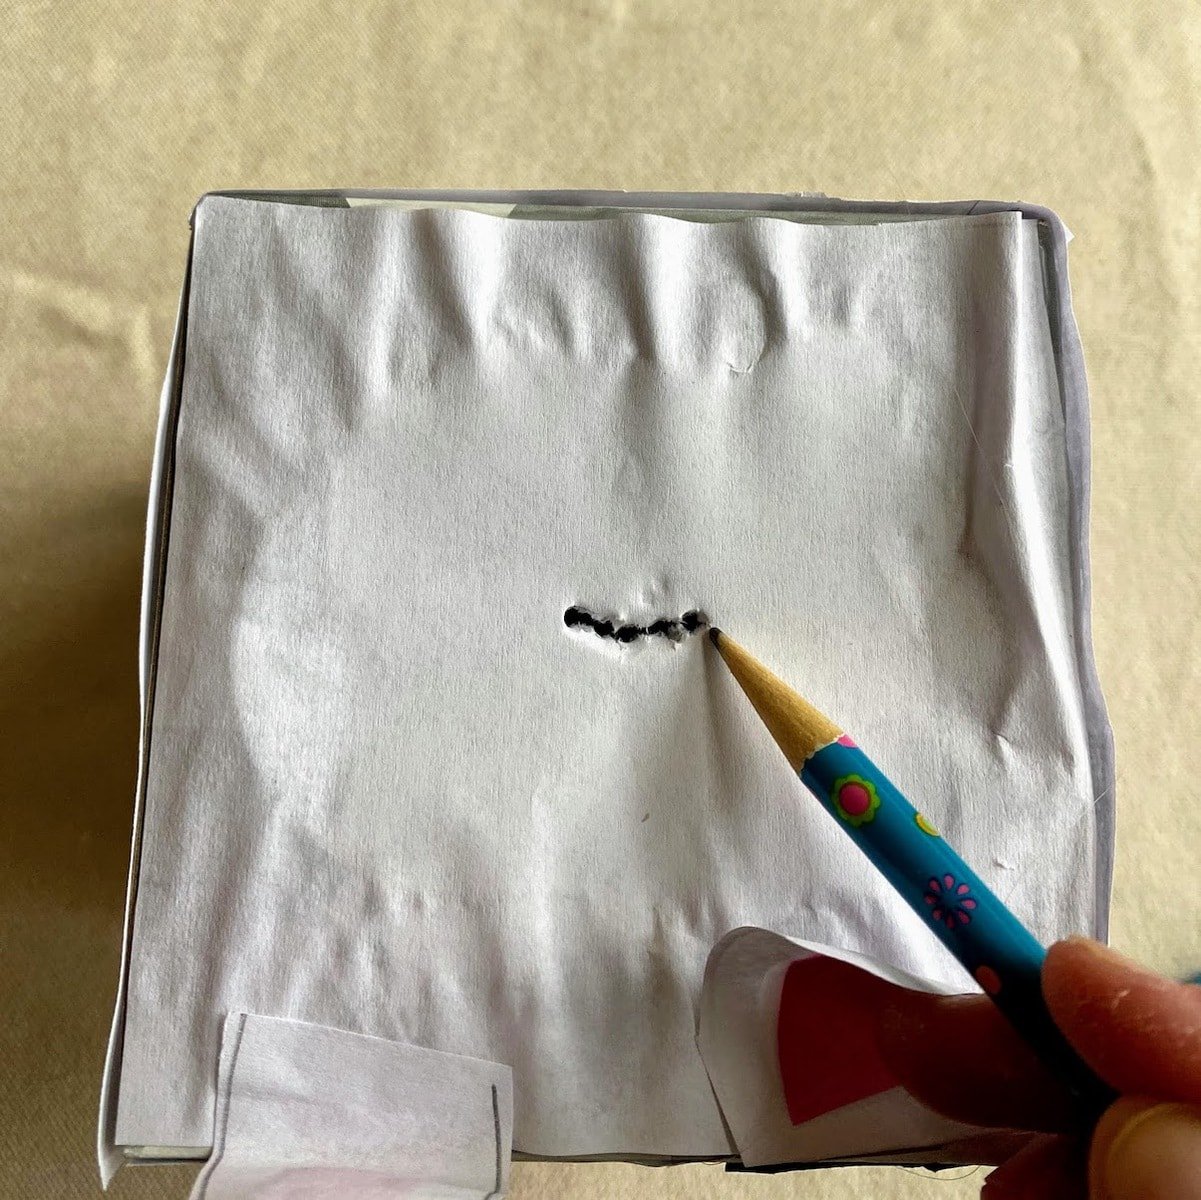
Step 3: Create a coin drop by cutting a small slit with a pencil on the top of the piggy bank box, over the tissue box’s hole. Now you’re ready to fill your DIY piggy bank with coins!
✏️ Expert Tips and Tricks
- If you don’t have colored paper, it’s fine! Just use crayons or colored pencils to color the pink and black features on white paper.
- We recommend using a pencil to gently make the coin drop hole.
- Remember the top of the tissue box is different than its four sides, so measure and cut construction paper accordingly.
❓FAQ
According to Business Insider, the concept of piggy banks has existed for nearly six centuries. Centuries ago, people would store their money in kitchen jars made from an orange clay material called pygg. These money pots became known as pygg pots, which evolved into piggy banks and subsequently inspired potters to start creating containers in the shape of pigs. The piggy bank concept with all of its piggy cuteness continues on today!
While we used a tissue box, any hollowed container can easily be converted into a piggy bank. Some suggestions: cereal boxes, shoe boxes, condiment jars, water bottles.
Check out this DIY piggy bank made from a soda bottle by Musely, and this adorable DIY Cereal Box Piggy Bank by Kix Cereal. The possibilities are endless!


Want more crafts?
Sign up below to get crafts and recipes straight to your inbox plus make sure to follow on your favorite social!

DIY Piggy Banks with Tissue Boxes
Equipment
Supplies
- 1 Empty tissue box
- 3-4 pieces Construction paper (pink, black and white)
- 1 Black marker or Sharpie
- 1 Pencil
- Tape or glue
Instructions
- Cover tissue box with construction paper. Trace and cut out the outline of the top of your tissue box. Next, trace and cut out the outline of all four of the box's sides (note: all sides are the same size). Glue each cutout to its respective surface. Note: We recommend using pink construction paper for a pig and white construction paper for a cow.
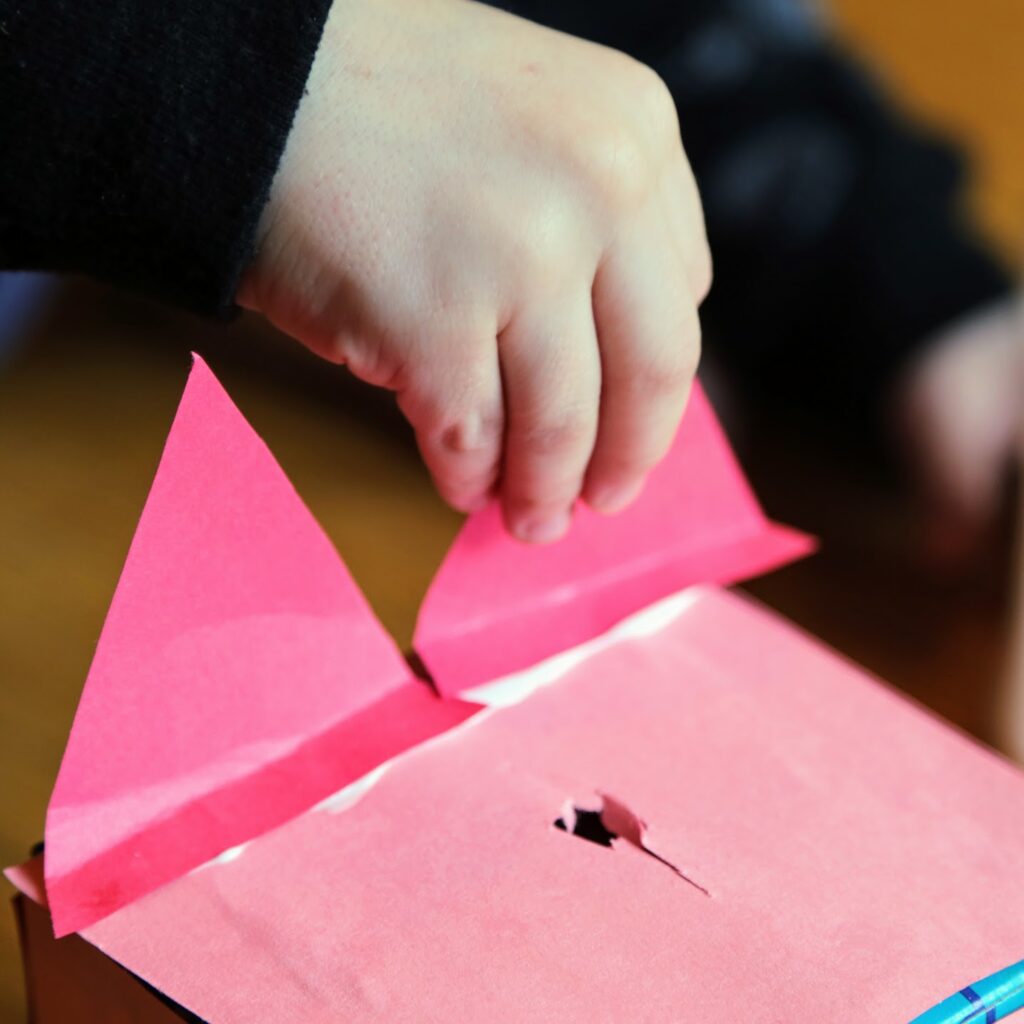
- Decorate your piggy bank's face! Use construction paper to add the following features to your piggy bank:Ears– Cut out two triangles from construction paper (pink for a pig and white and/or pink for a cow!). Bend back the bottom edges slightly and use glue to fasten the triangles to the top off the box on the edges closest to the face.Snout– Cut out and paste an oval shape from pink construction paper to the middle of the fronts side of your piggy bank. Add two small black circles for the nostril. Optional: Draw a smile right below the snout!Eyes– Draw or glue/tape two small black dots above the snout.Spots (for cow)– Cut wavy black spots to glue/tape to your cow's face!Tail (for pig)– Cut a tail shape out of pink paper and twist the tail around a pen/pencil to get a good spiral. Then, simply glue it to the backside of the box.
- Make a Coin Drop: To create the coin drop, use a pencil to gently punch in and form a small line.
Video
Notes
- Remember the top of the tissue box is different than its four sizes, so measure and cut construction paper accordingly.
- If you only have white paper, you can color it as needed for the facial features.
- We recommend using a pencil to gently make the coin drop hole.
- Display your piggy banks in your kids’ rooms, the kitchen or anywhere you typically set down change. This piggy bank craft also makes a great gift for loved ones.