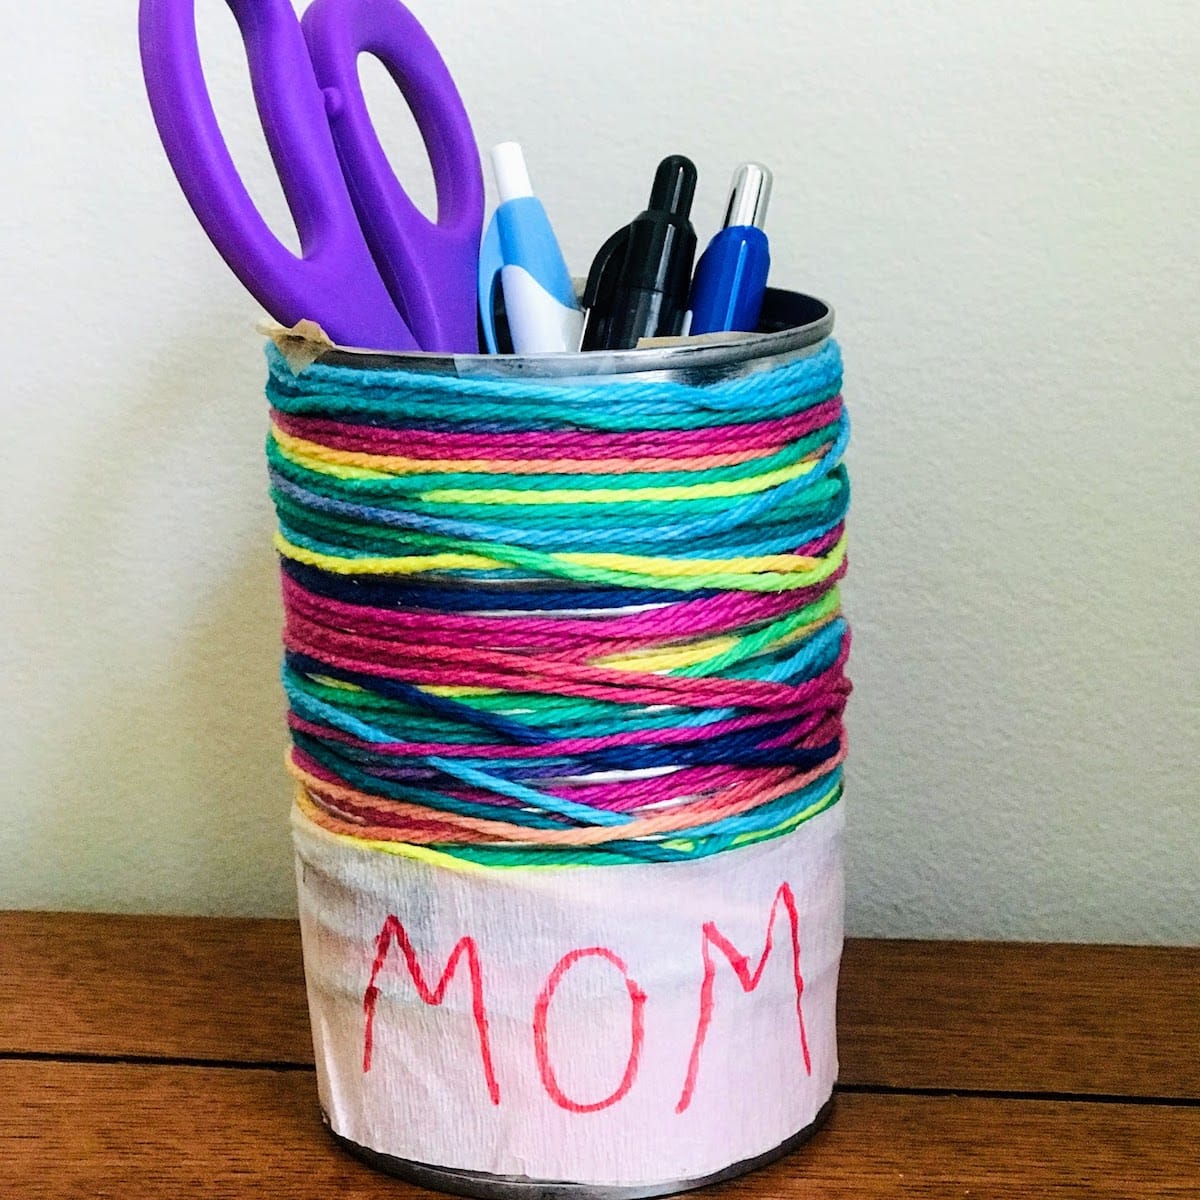
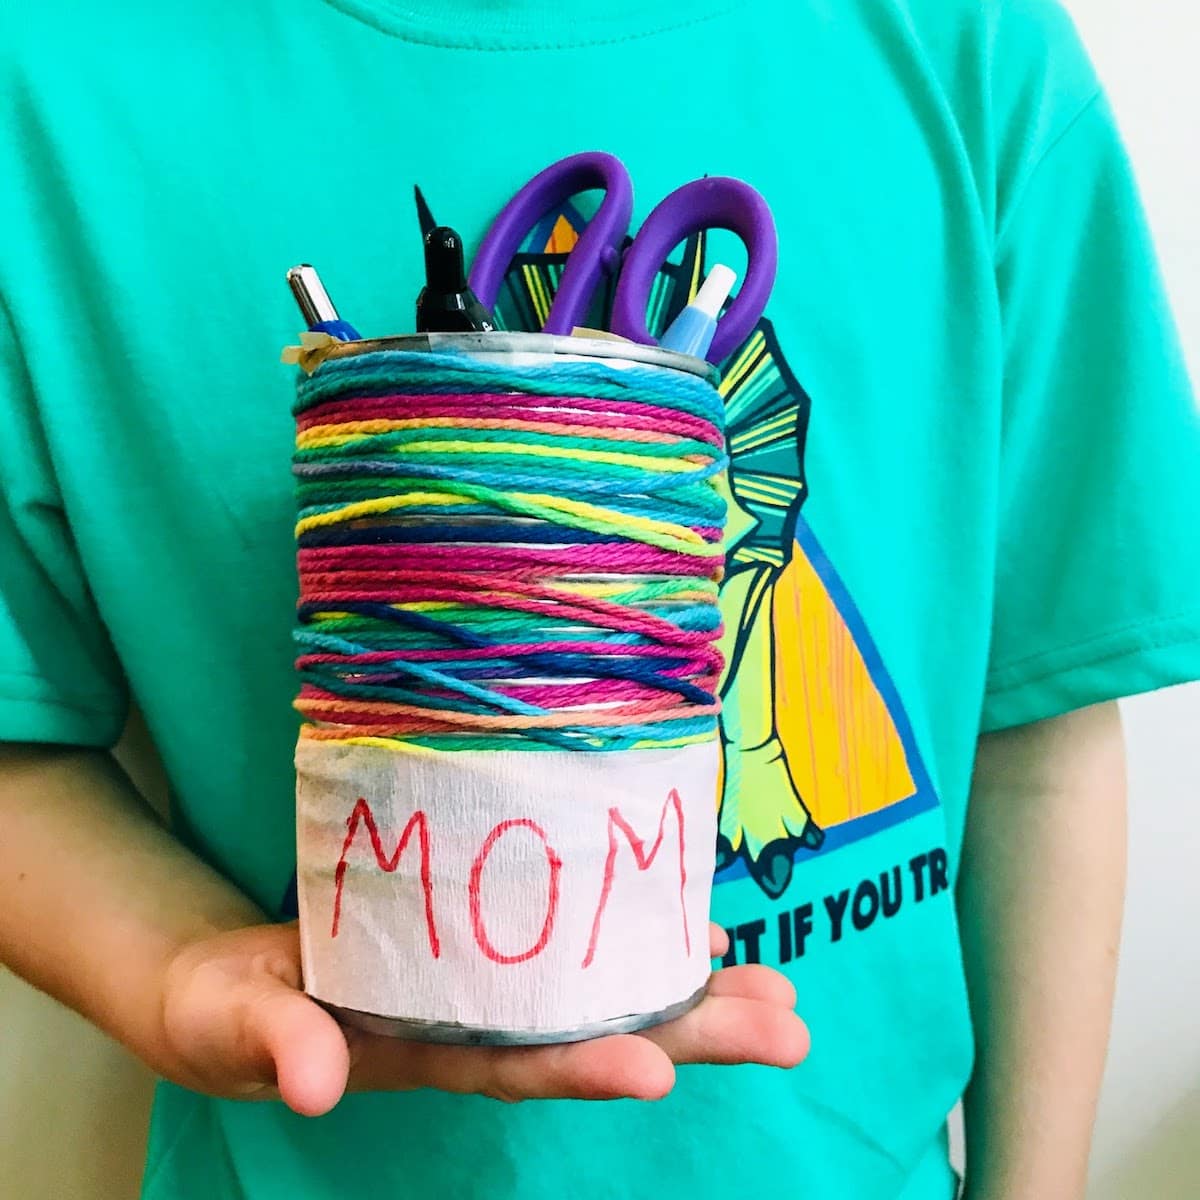
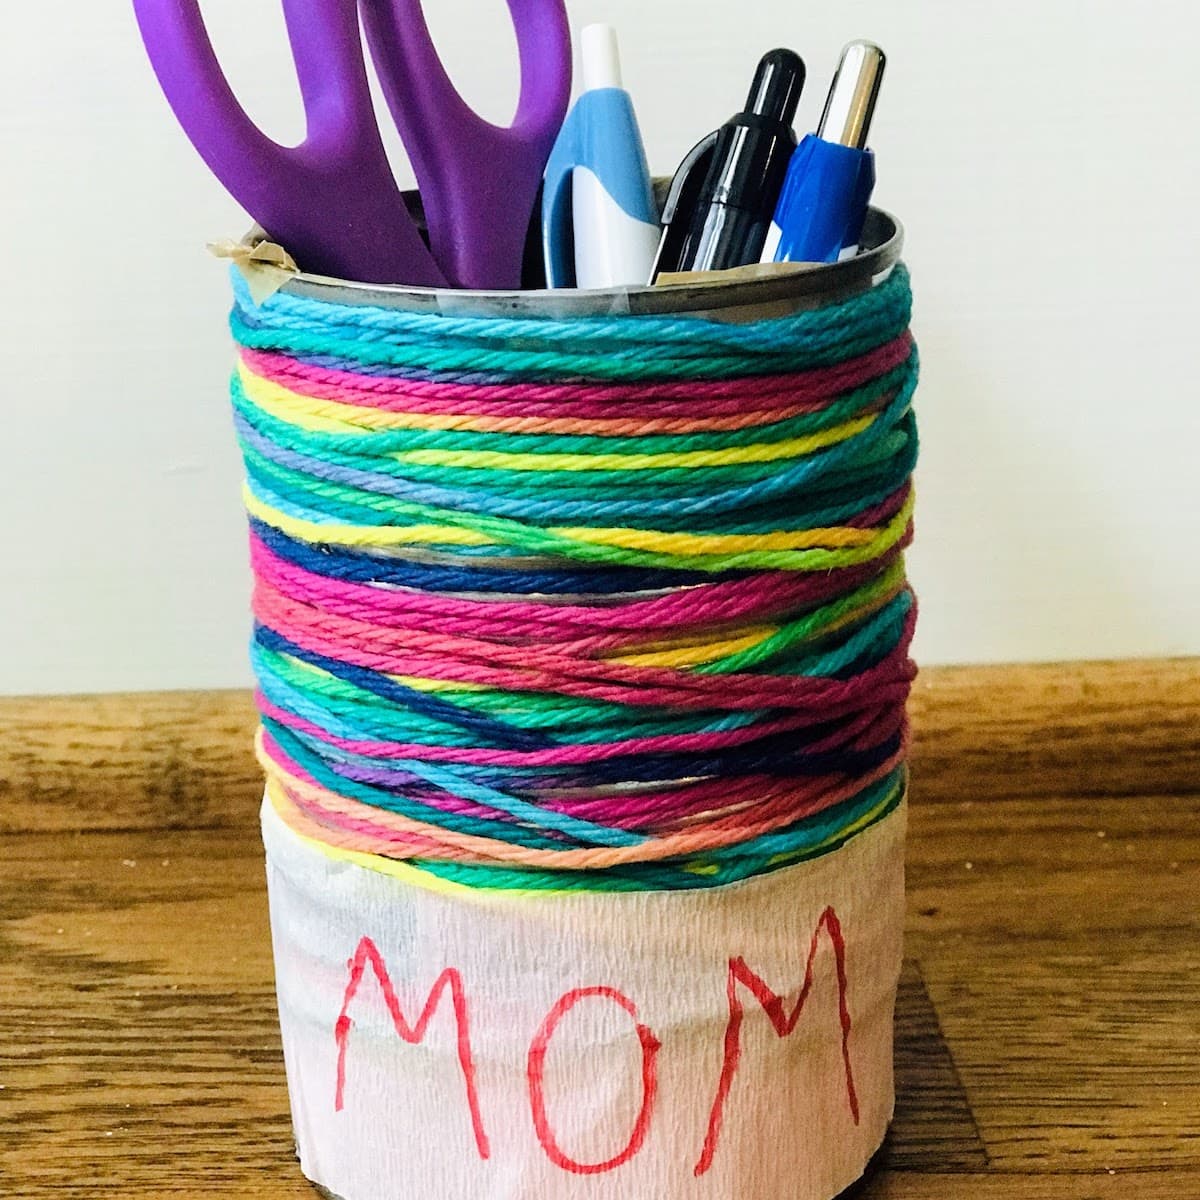
DIY Pencil Holders

Hold onto those empty tin cans and transform them into these adorable DIY pencil holders! These pen and pencil containers require minimal supplies and are quick to put together. BONUS: DIY pencil holders make the PERFECT gifts for friends, teachers and loved ones.
Want to Save this Recipe or Activity?
Enter your email and we will send it straight to your inbox! You’ll also get the latest posts from Platein28!
By submitting this form, you consent to receive emails from Platein28.
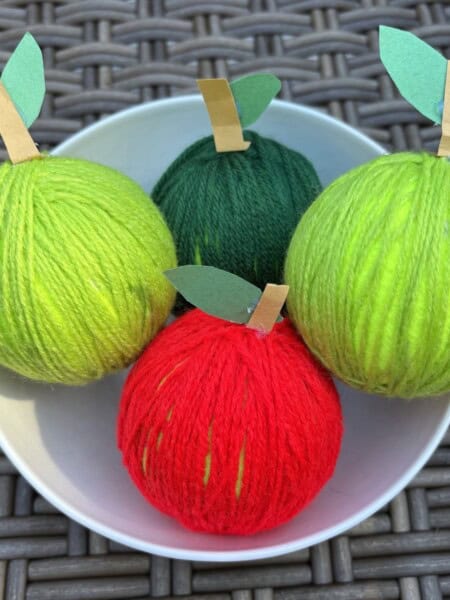
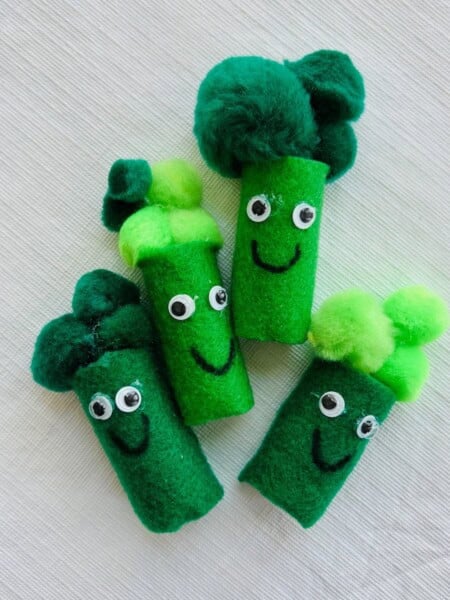
We love transforming our trash into new, creative projects we can actually use. If you love repurposing used containers, check out our Cow-Themed Tissue Paper Vase Craft which we made out of an empty Ketchup bottle and our DIY Piggy Banks made from tissue boxes!

Why We Love DIY Pencil Holders
- An “upcycled” craft. These pencil holders are made from used tin cans. Not only do upcycled crafts encourage kids to think creatively, they also teach kids the value of conserving resources and caring for the environment.
- Creativity– Kids can get really creative when making their pencil holders. We decided to wrap our empty cans in yarn and tissue paper, which worked really well!
- Great homemade gifts- These pencil holders make great gifts and can easily be customized for loved ones!
- Fine motor skills. Our DIY pencil holder craft allows kids to put developing cutting, folding, and gluing skills to good use.
✂️ Supplies
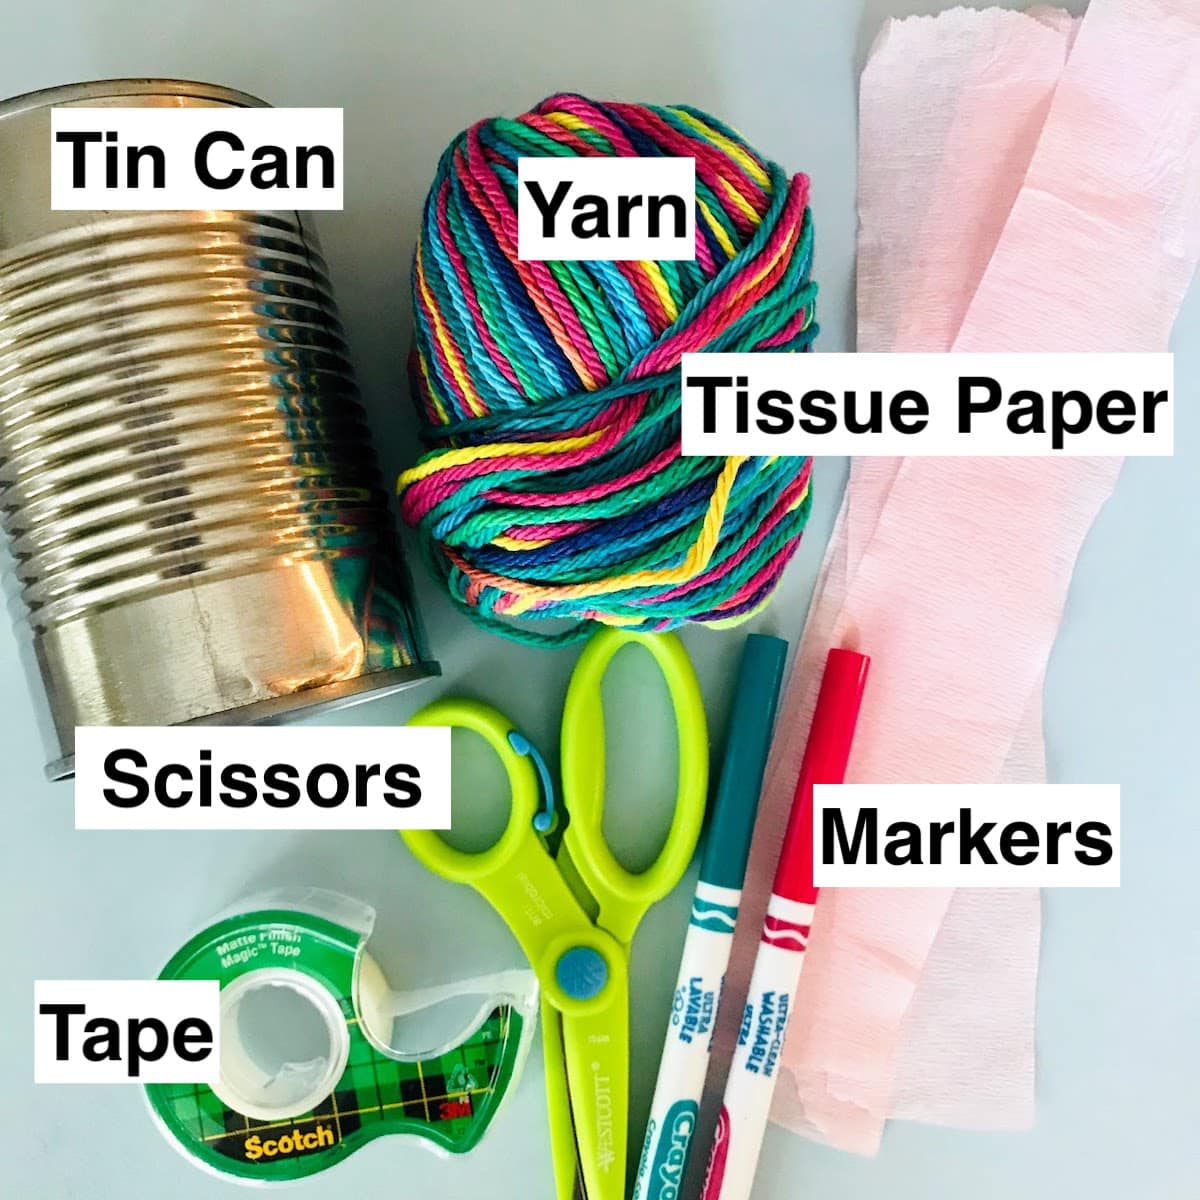
Notes on supplies:
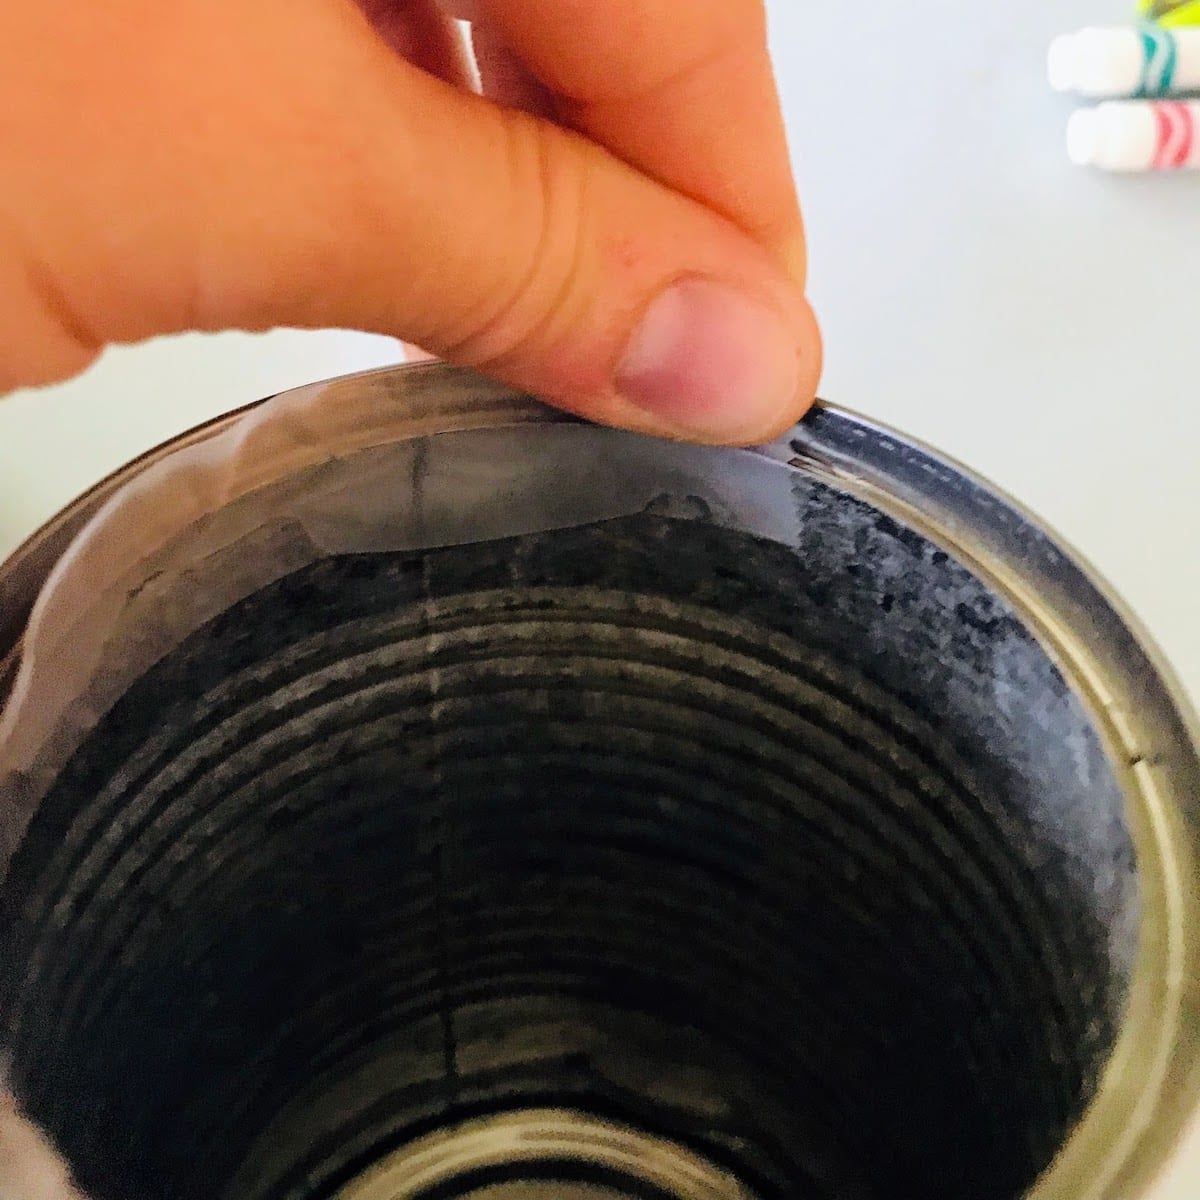
- Empty tin can – The cans’ inner rim (where the lid was removed) can be sharp. To dull the inner rim, we wrapped it with a couple layers of tape.
- Yarn – Any color or combination of colors!
- Scissors– We love these Kid-friendly scissors.
- Tissue paper– Ideally a lighter color so the marker will show when you write a name.
- Tape –or glue if preferable.
- Markers– For adding a name.
📝 Instructions
Step 1: To protect little hands from sharp edges, cover can’s sharp, inner rim with tape. Note: This is a task for adults to complete.
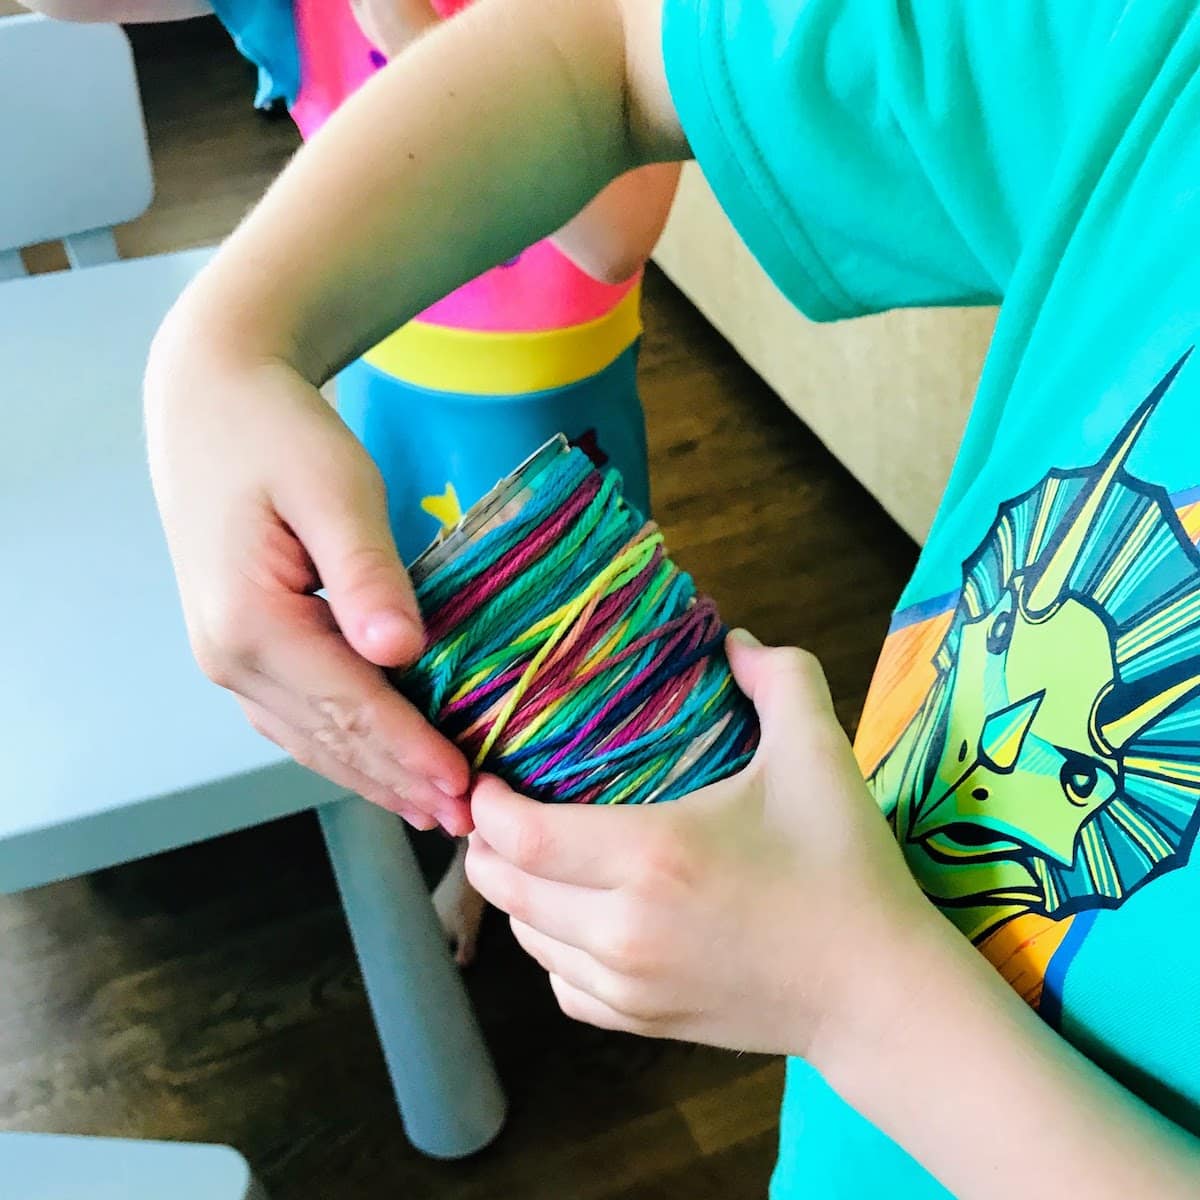
Step 2: Tightly wrap yarn around the can, taping the start and finish of the string of yarn to the can. Consider leaving some of the can’s bottom without yarn to decorate with tissue paper.
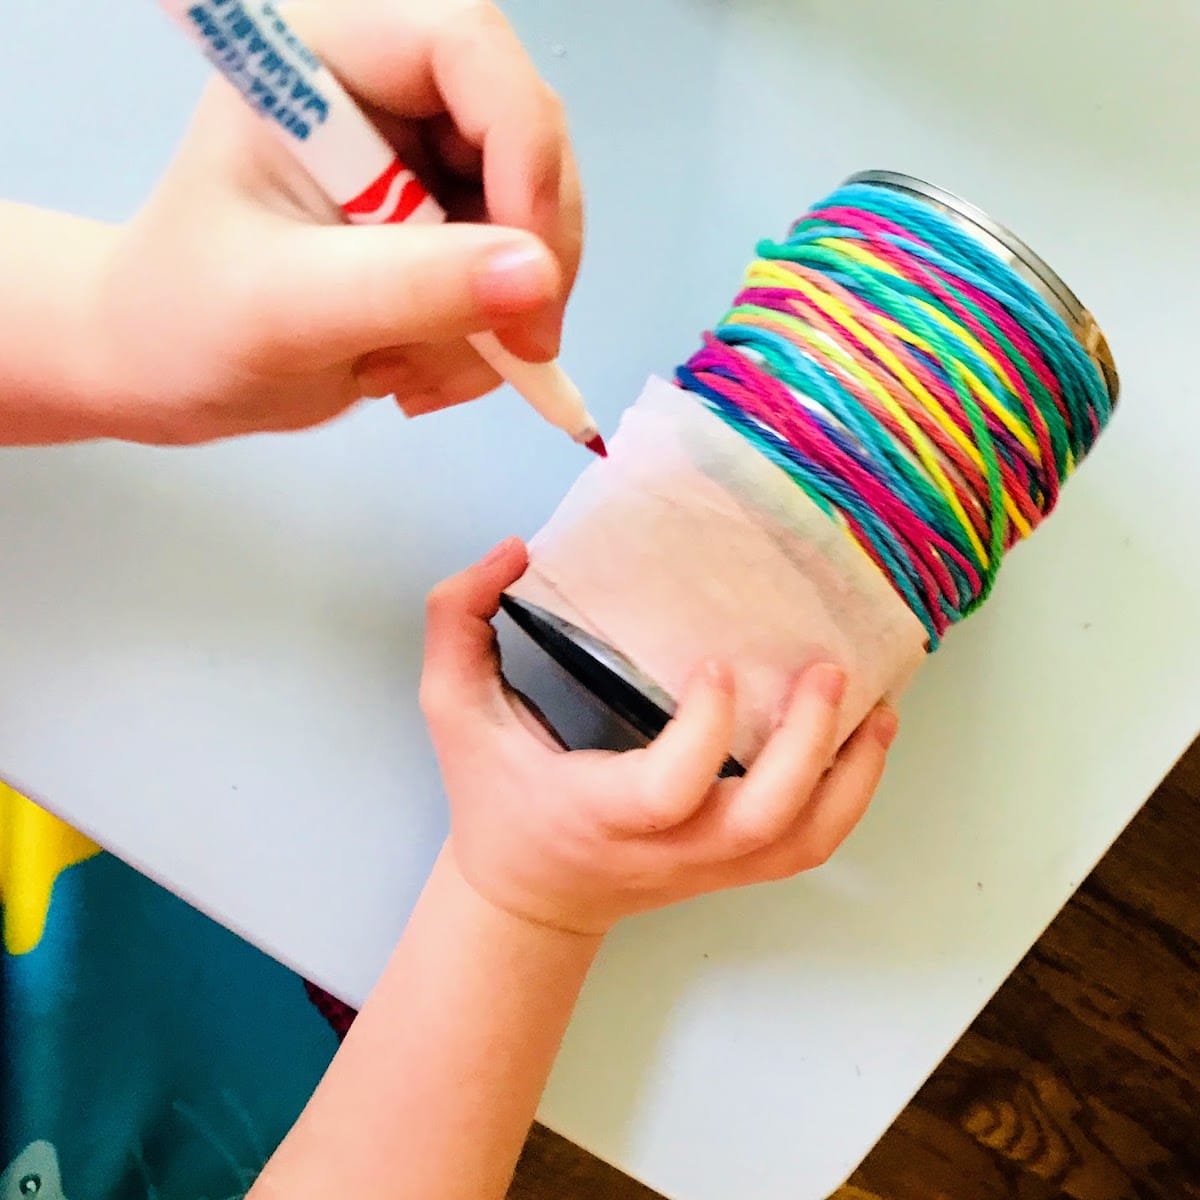
Step 3: Wrap and tape tissue paper around the bottom of your can. Leave enough room to write a name on the tissue paper paper section.
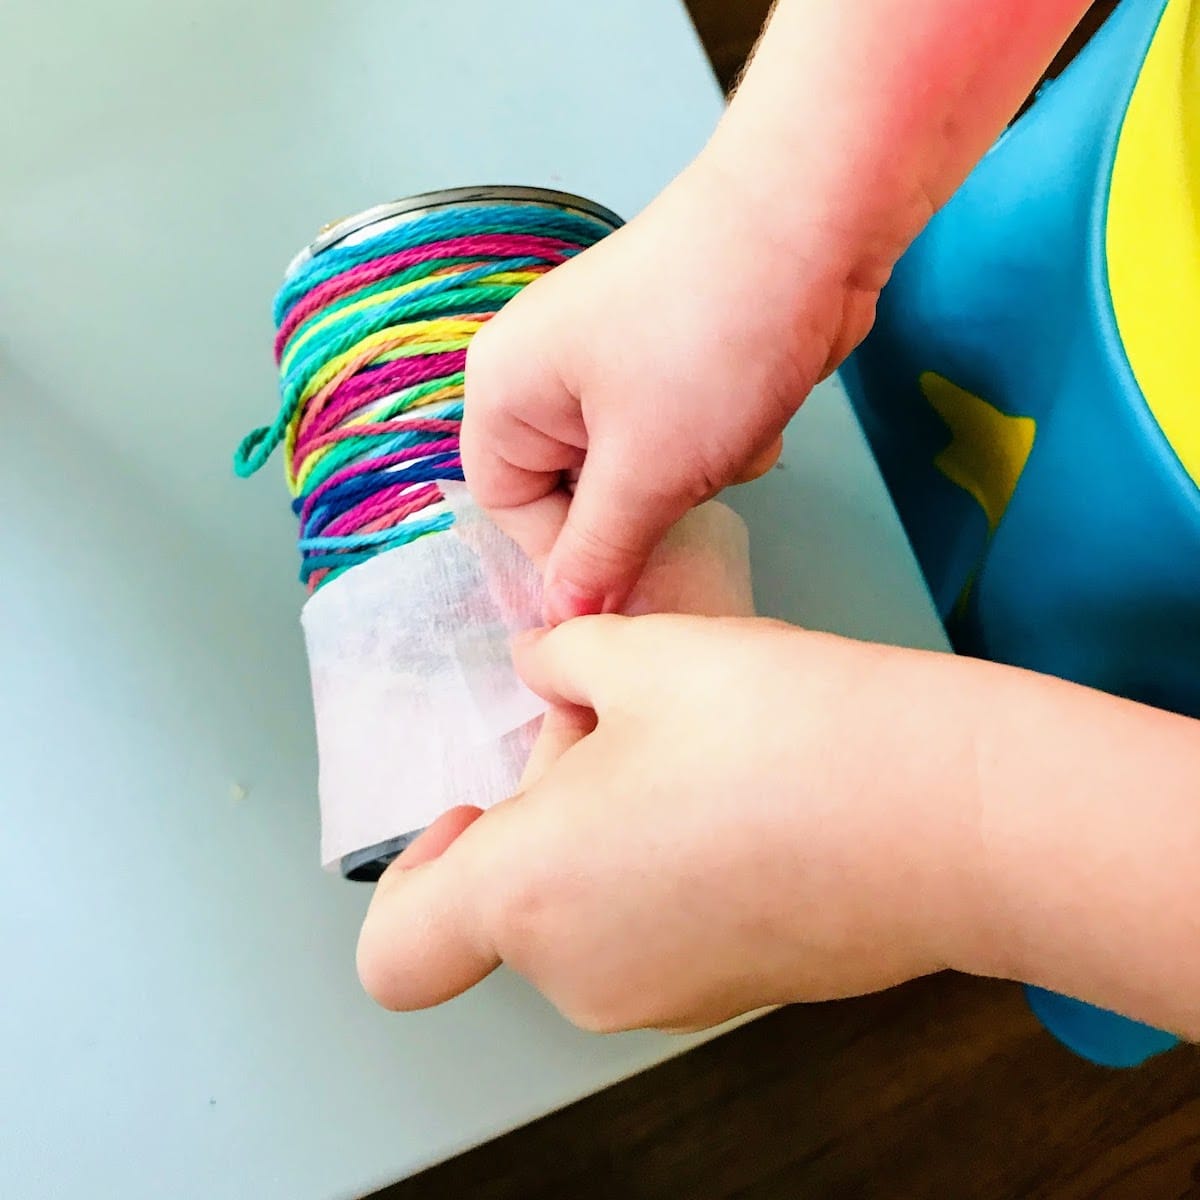
Step 4: Write your name on the tissue paper (or someone else’s if your pencil holder is a gift). Now fill your DIY pencil holder with all your favorite utensils!


Want more crafts?
Sign up below to get crafts and recipes straight to your inbox plus make sure to follow on your favorite social!

✏️ DIY Pencil Holders
Equipment
Supplies
- Empty tin can
- Yarn (any color)
- Tissue paper (light color)
- Tape
- Markers
Instructions
- To protect little hands from sharp edges, cover can's sharp, inner rim with tape. Note: This is a task for adults to complete.
- Tightly wrap yarn around the can, taping the start and finish of the string of yarn to the can. Consider leaving some of the can's bottom without yarn to decorate with tissue paper.
- Wrap and tape tissue paper around the bottom of your can. Leave enough room to write a name on of the tissue paper section.
- Write your name on the tissue paper (or someone else's if your pencil holder is a gift). Now fill your pencil holder with all your favorite utensils!