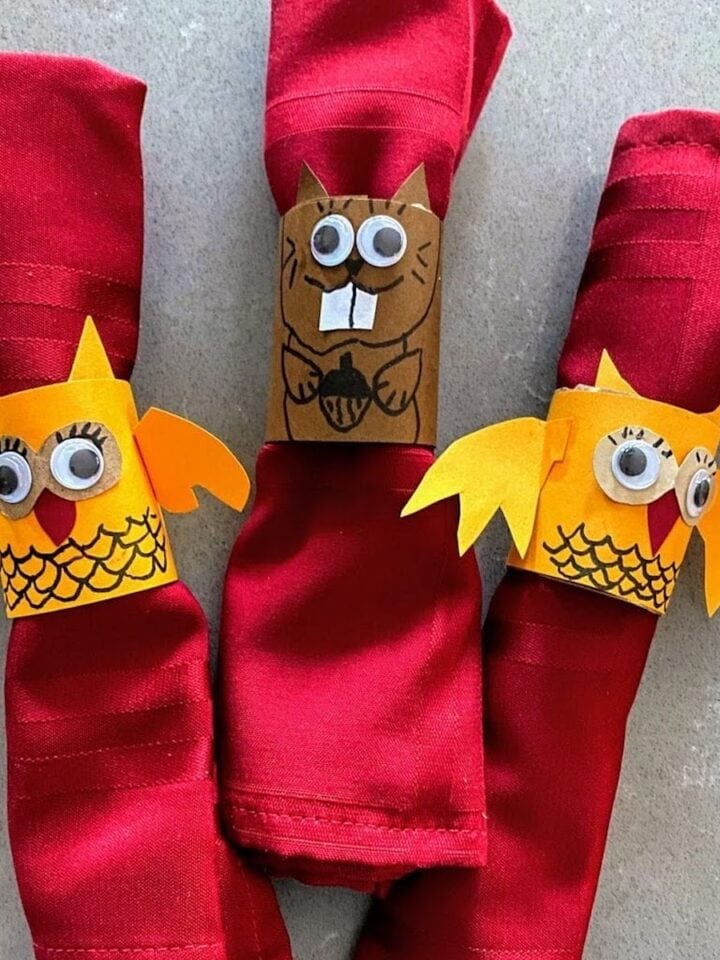
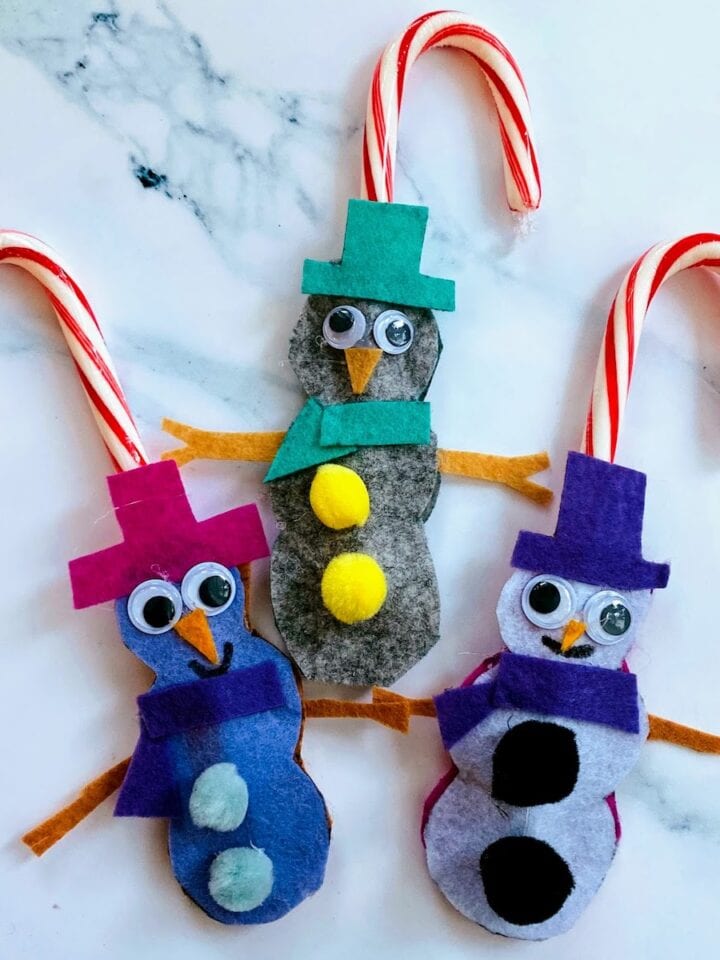
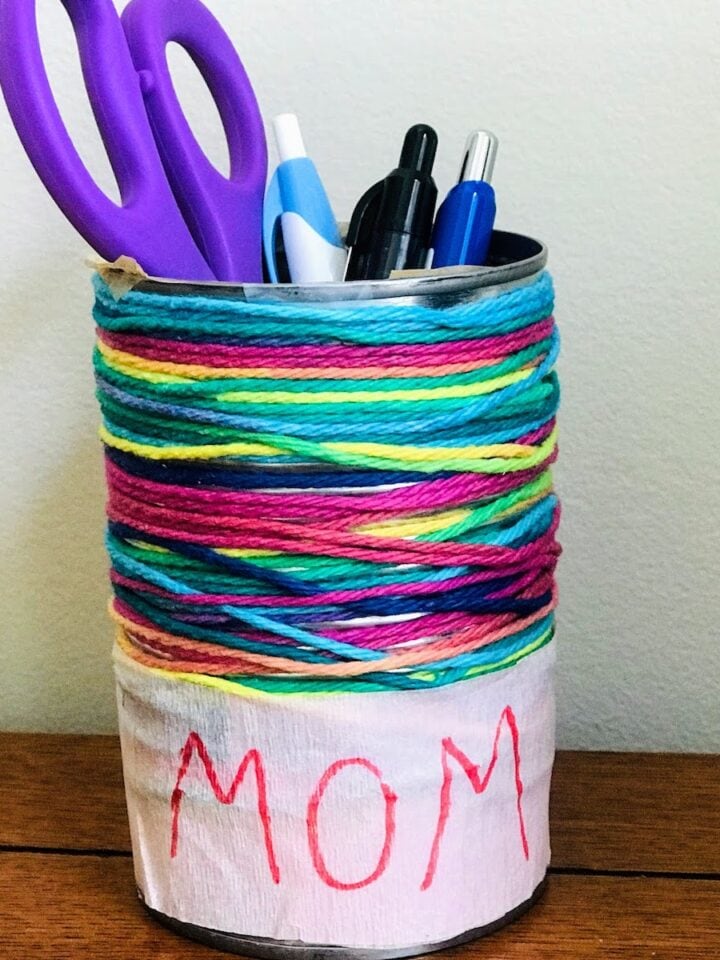
Note: If you love upcycled crafts, check out our toilet paper napkin rings, tin can pencil holder and recycled tin candy dishes!
Want to Save this Recipe or Activity?
Enter your email and we will send it straight to your inbox! You'll also get the latest posts from Platein28!
By submitting this form, you consent to receive emails from Platein28.
Jump to:
👍 Why we Love this Tissue Paper Vase Craft
Trash to treasure. We love transforming our recyclables into new, creative projects.
Environmentally friendly. Not only do upcycled crafts encourage creativity, they also teach kids the value of conserving resources and caring for the environment. And as a bonus, when we transform used materials into useful items or gifts, we save money!
Simple for all ages. This was a very simple craft that my kids were able to do almost completely on their own.
Yay tissue paper! We love crafting with tissue paper, as it's super versatile and can be used with so many different crafts.
Fine motor skills. Our tissue paper vase craft allows kids to put developing cutting, folding, and gluing skills to good use.
✂️ Supplies
Notes on supplies:
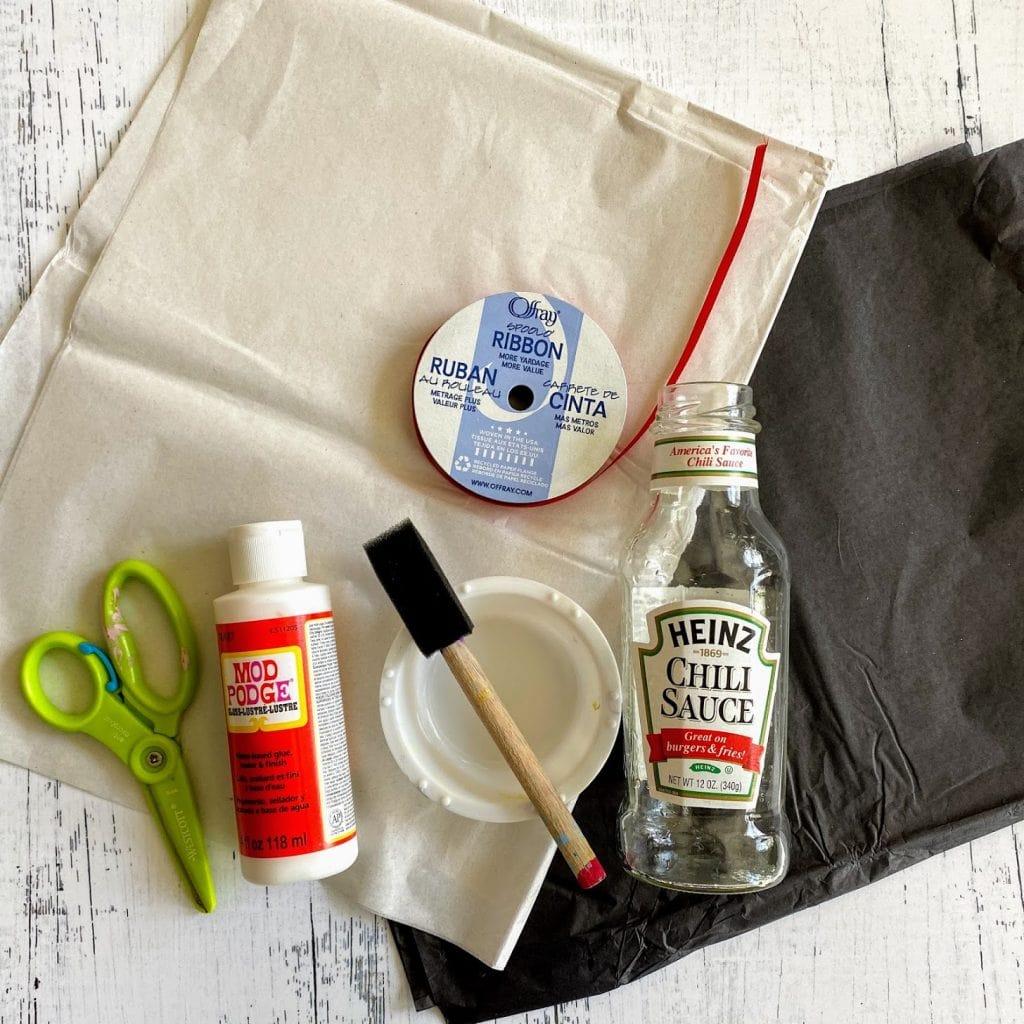
- Glass bottle- We used a Chili Sauce container but any clean, empty glass bottle will do!
- Tissue paper-We used white and black for a cow-theme, but you can use any colors you'd like.
- Scissors- We love these kid-friendly scissors.
- Glue- We prefer Mod Podge since it also acts as a sealer and has a stronger "stick" to it than glue. But if you don't have any, Elmer's Glue is second best!
- Paint Container - Totally optional but we think it will help minimize the mess!
- Paint brushes- We love these foam paint brushes.
- Red ribbon or yarn- Though optional, we thought this was a nice finishing touch.
📝 How to Make A Tissue Paper Vase
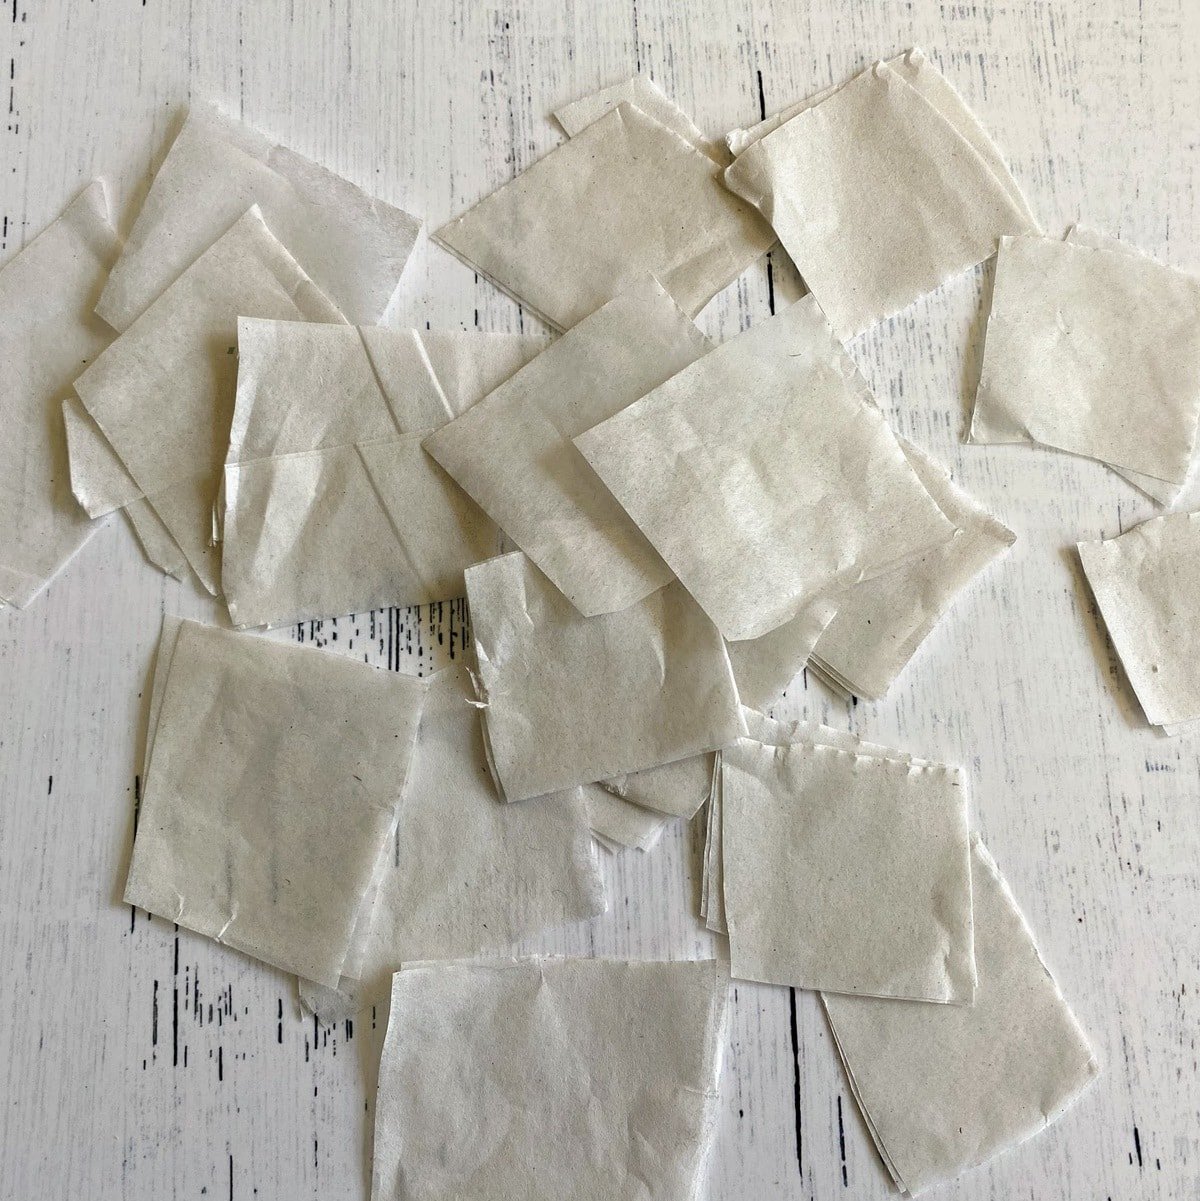
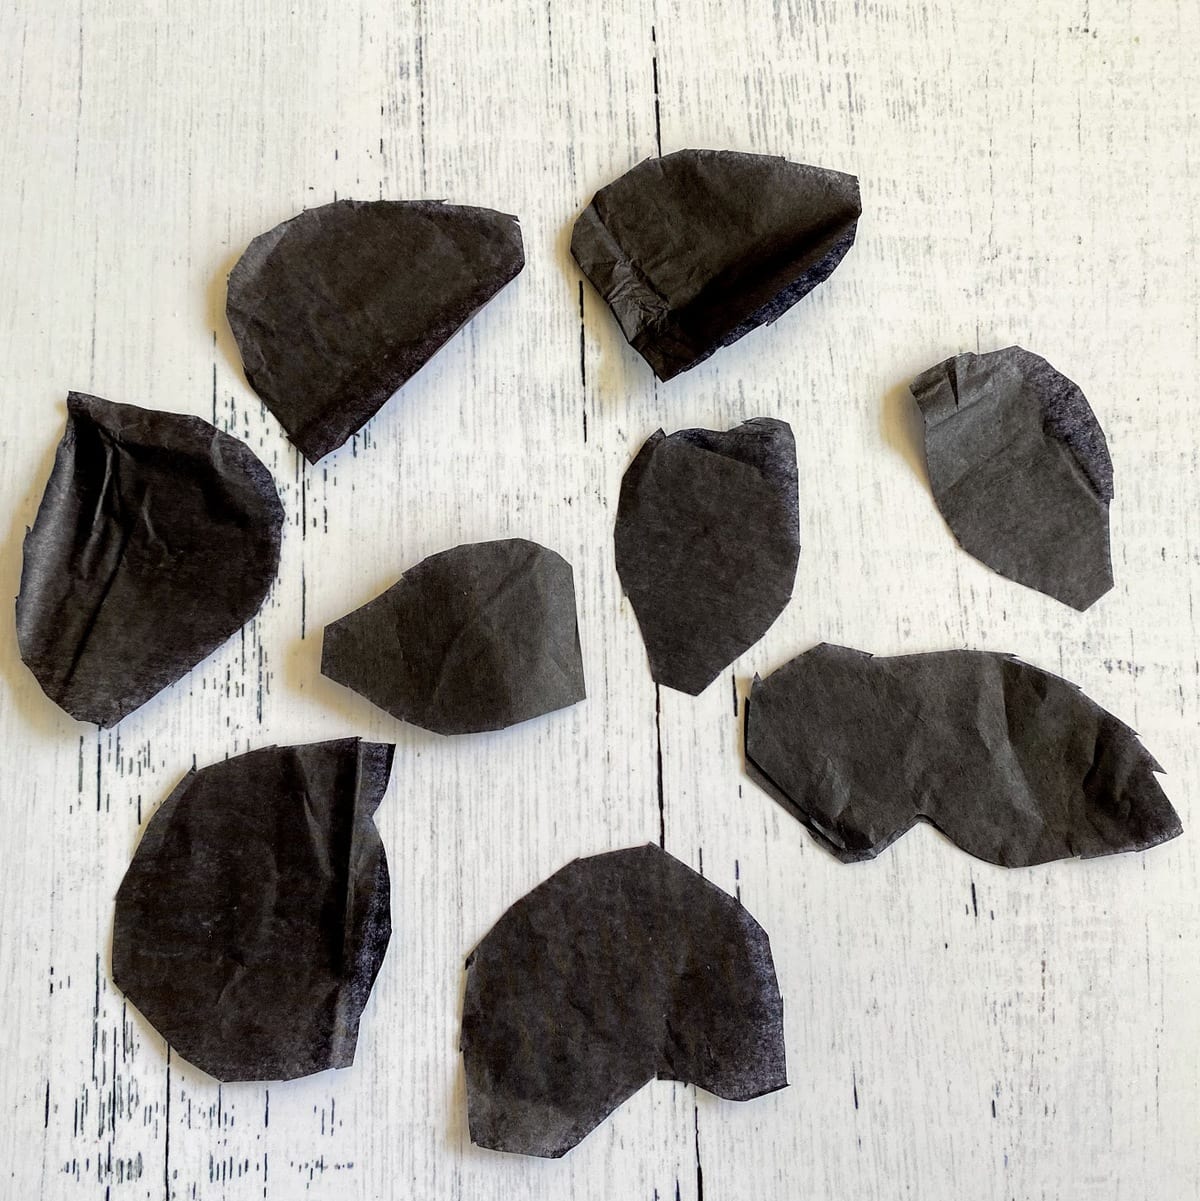
1. Cut white tissue paper into several small squares (enough to cover whole bottle, with layers as needed). Cut out 5-10 black "spots" (or misshapen circles) of black tissue paper.
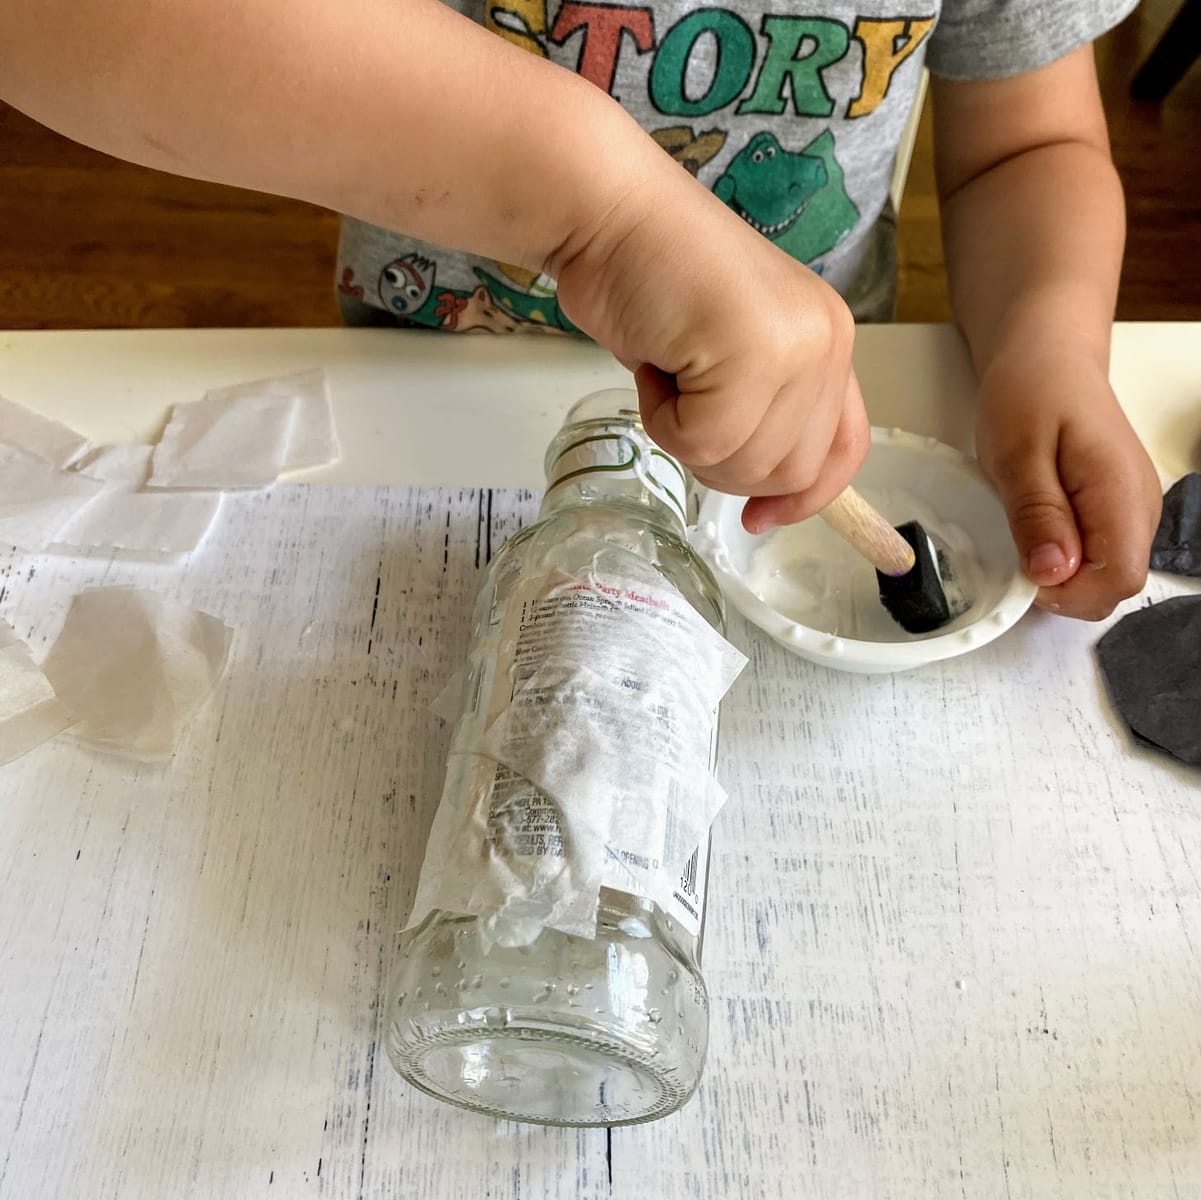
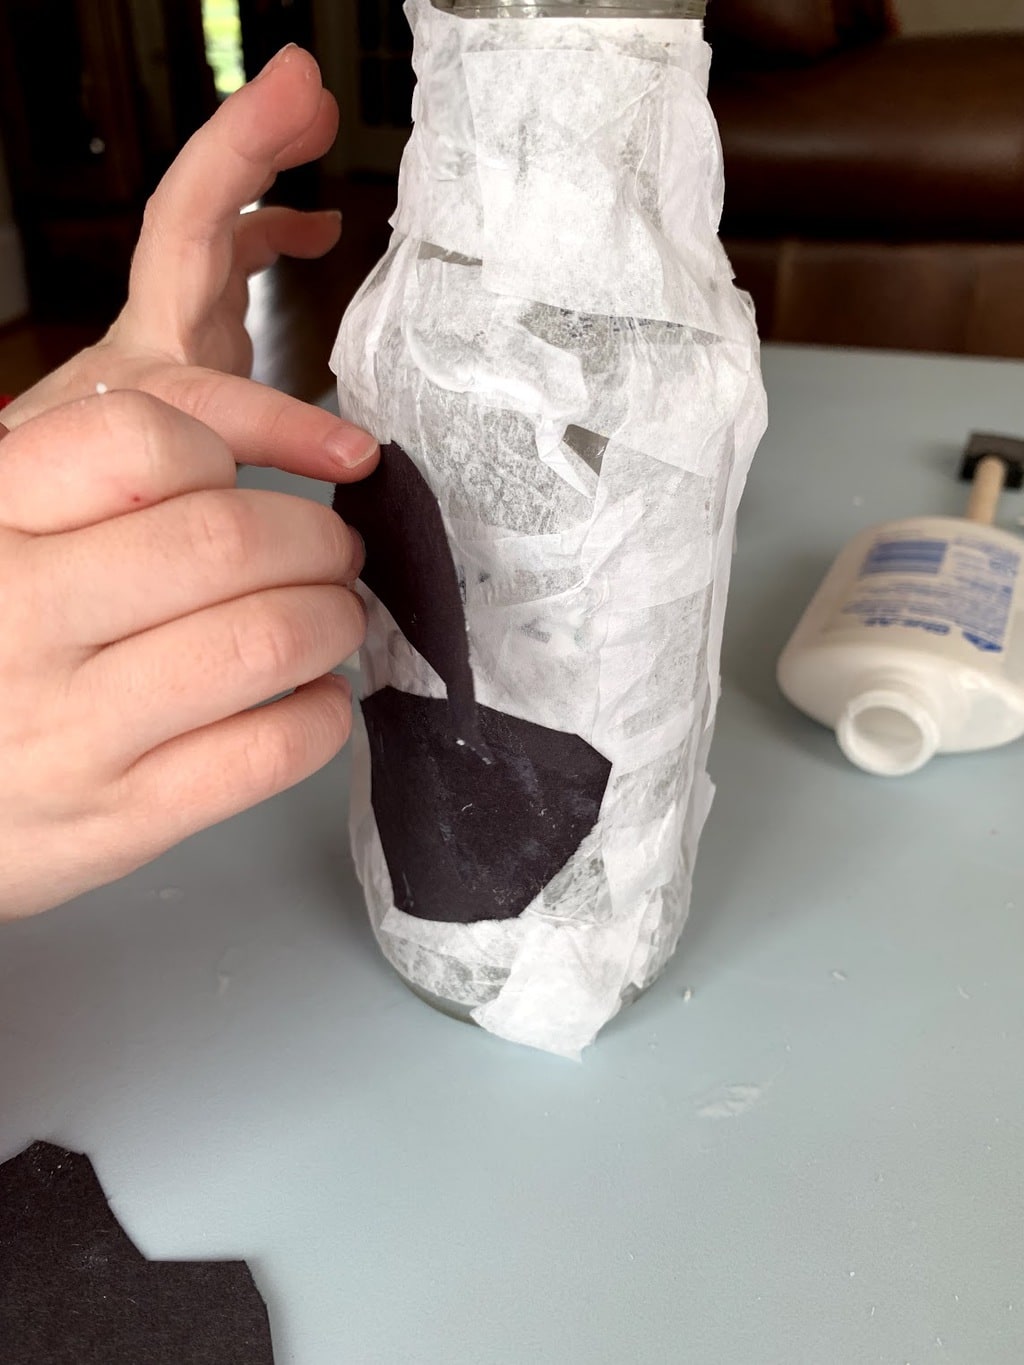
2. Use Mod Podge or glue to cover the bottle with squares of white tissue paper. Layer as much as needed to cover any old labels or markings. Add 5-10 black spots on top of the white tissue paper.
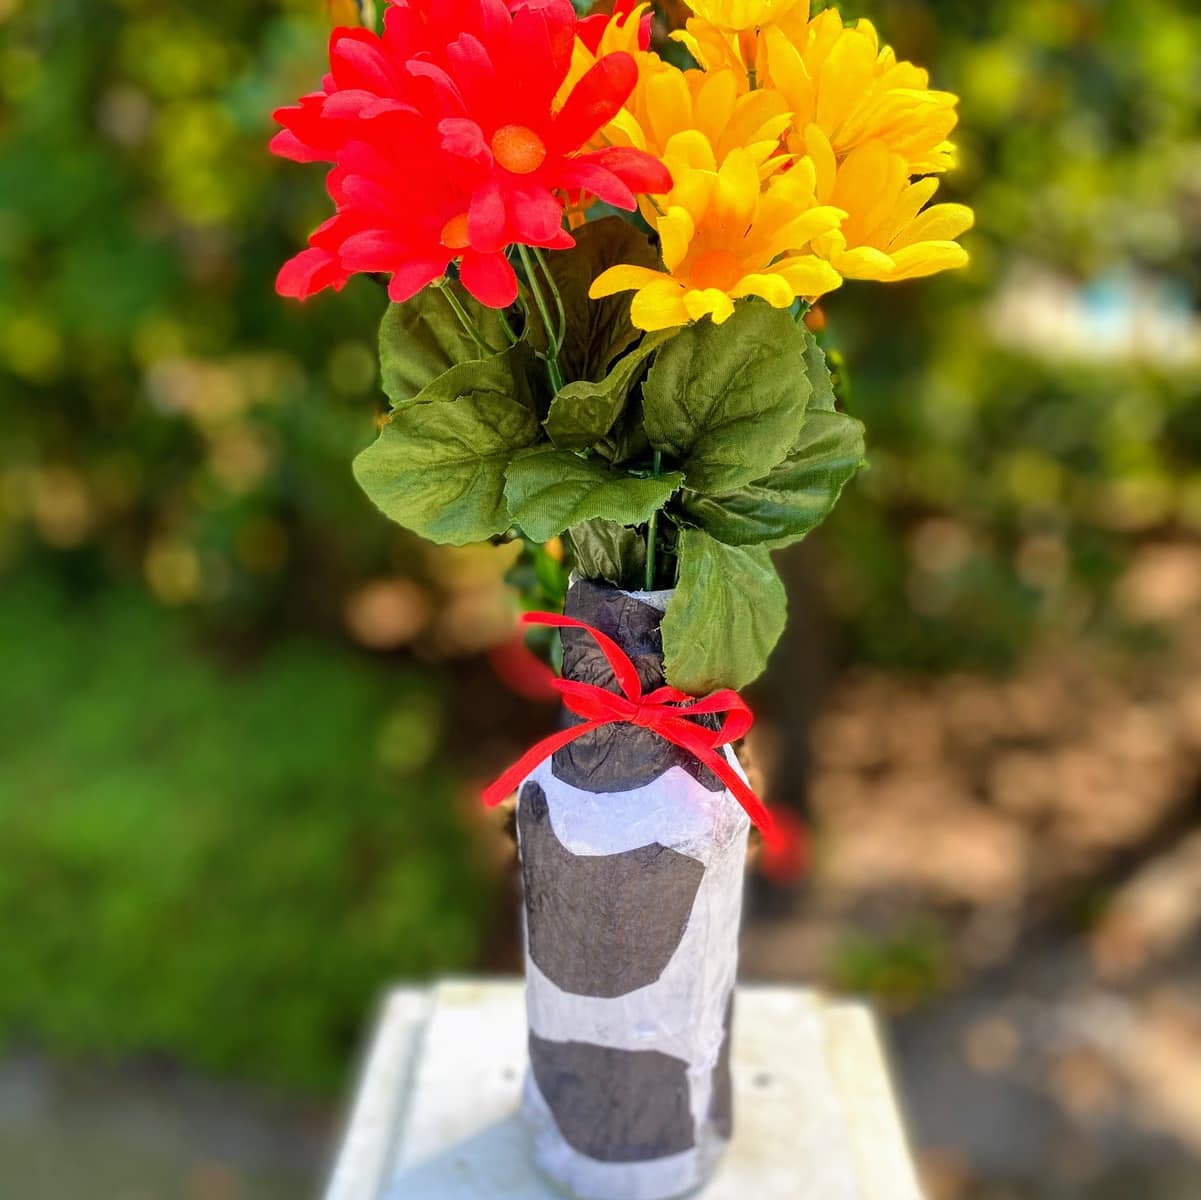
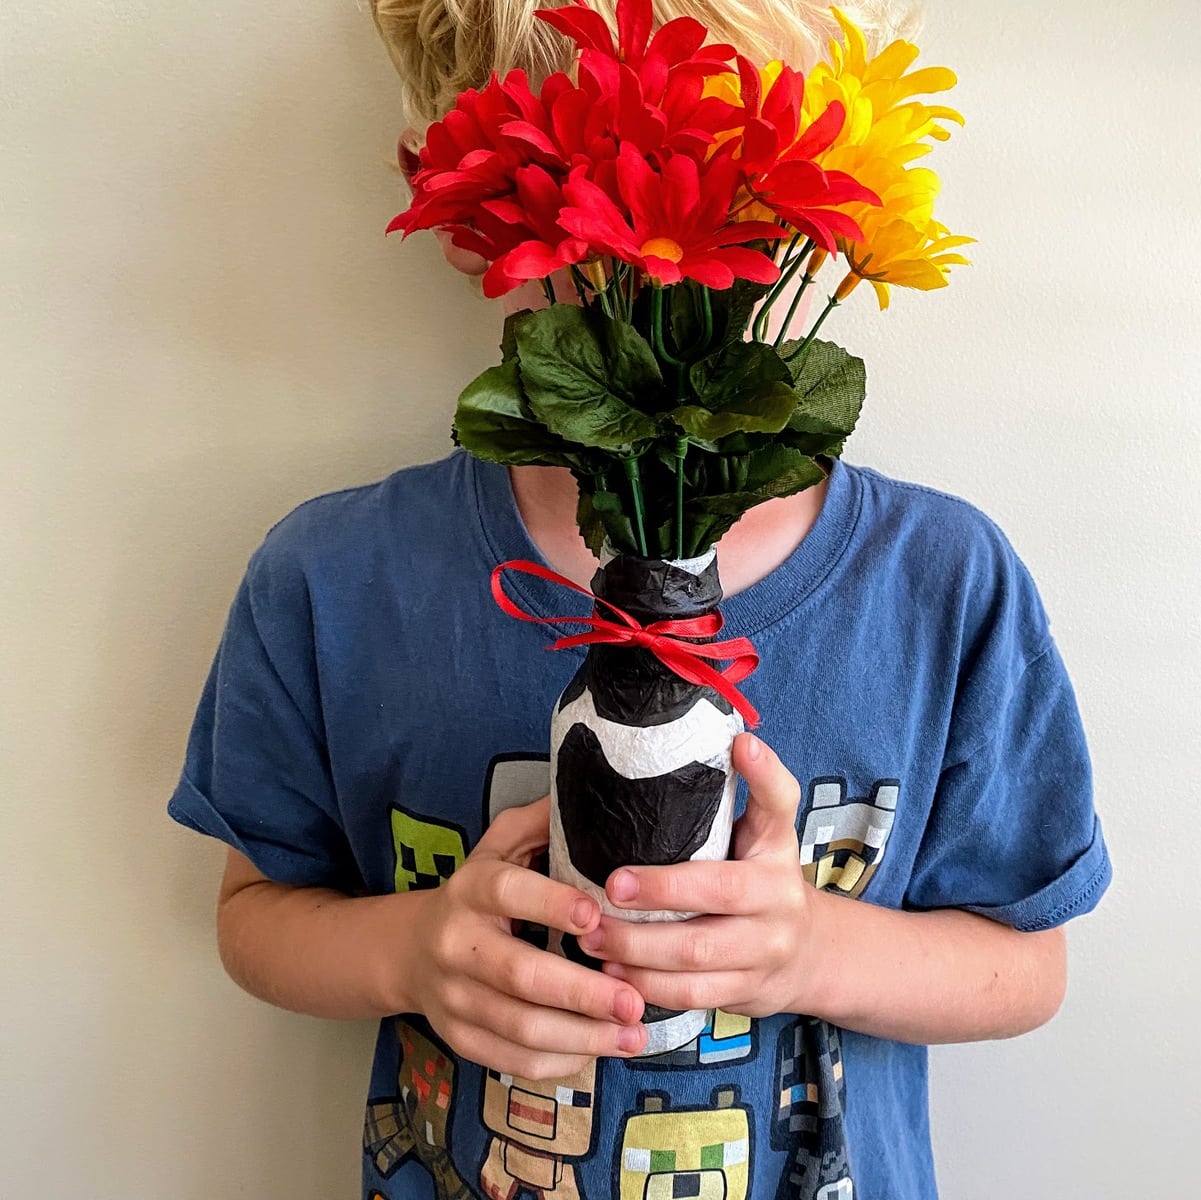
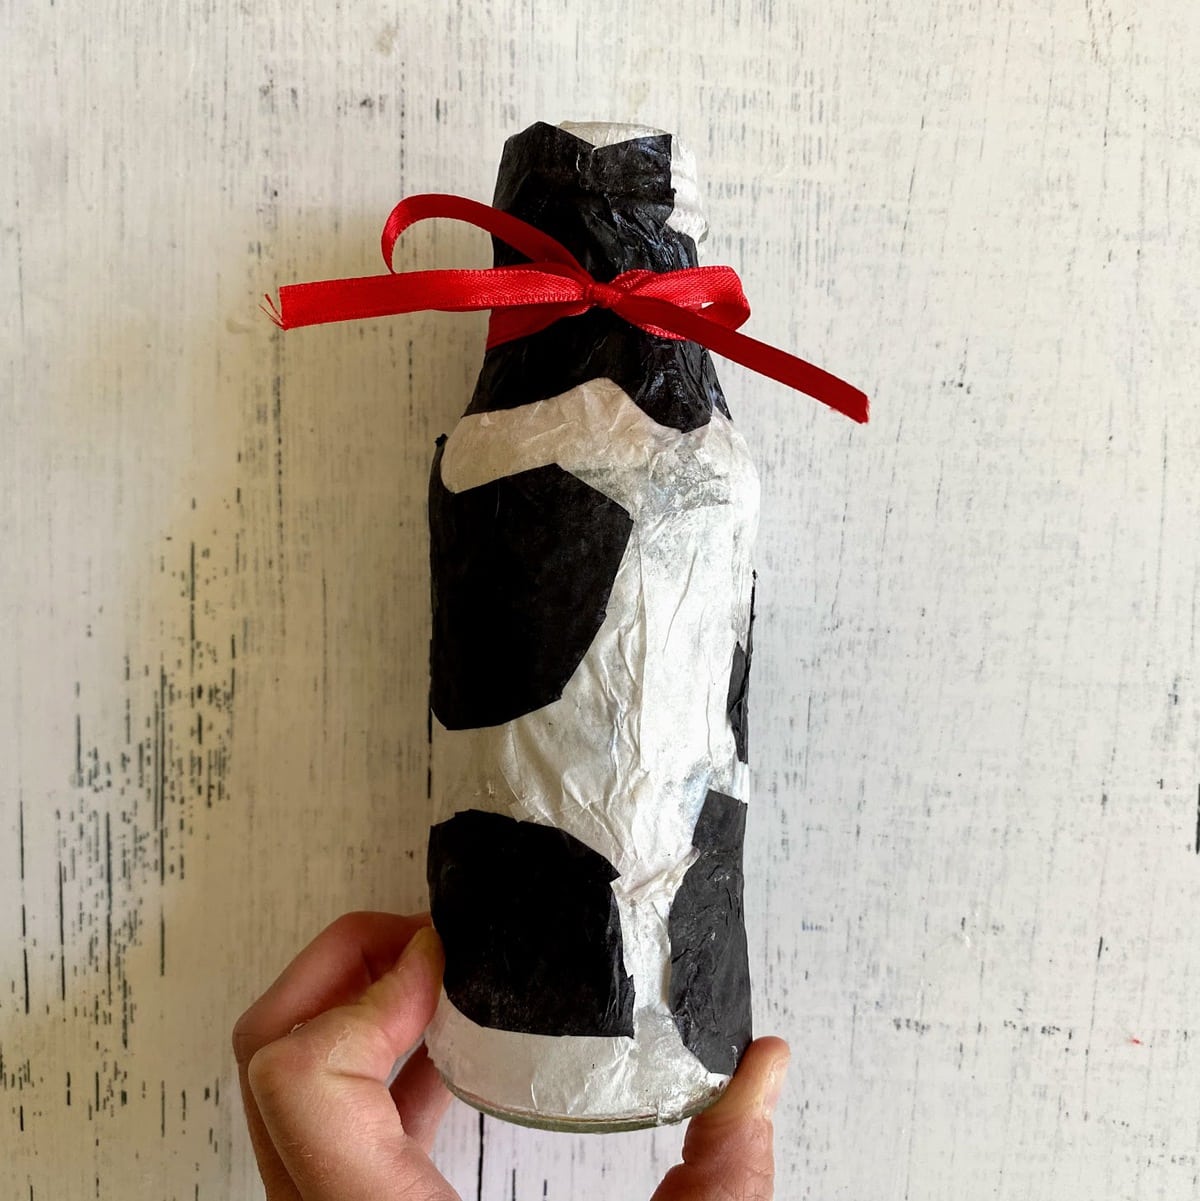
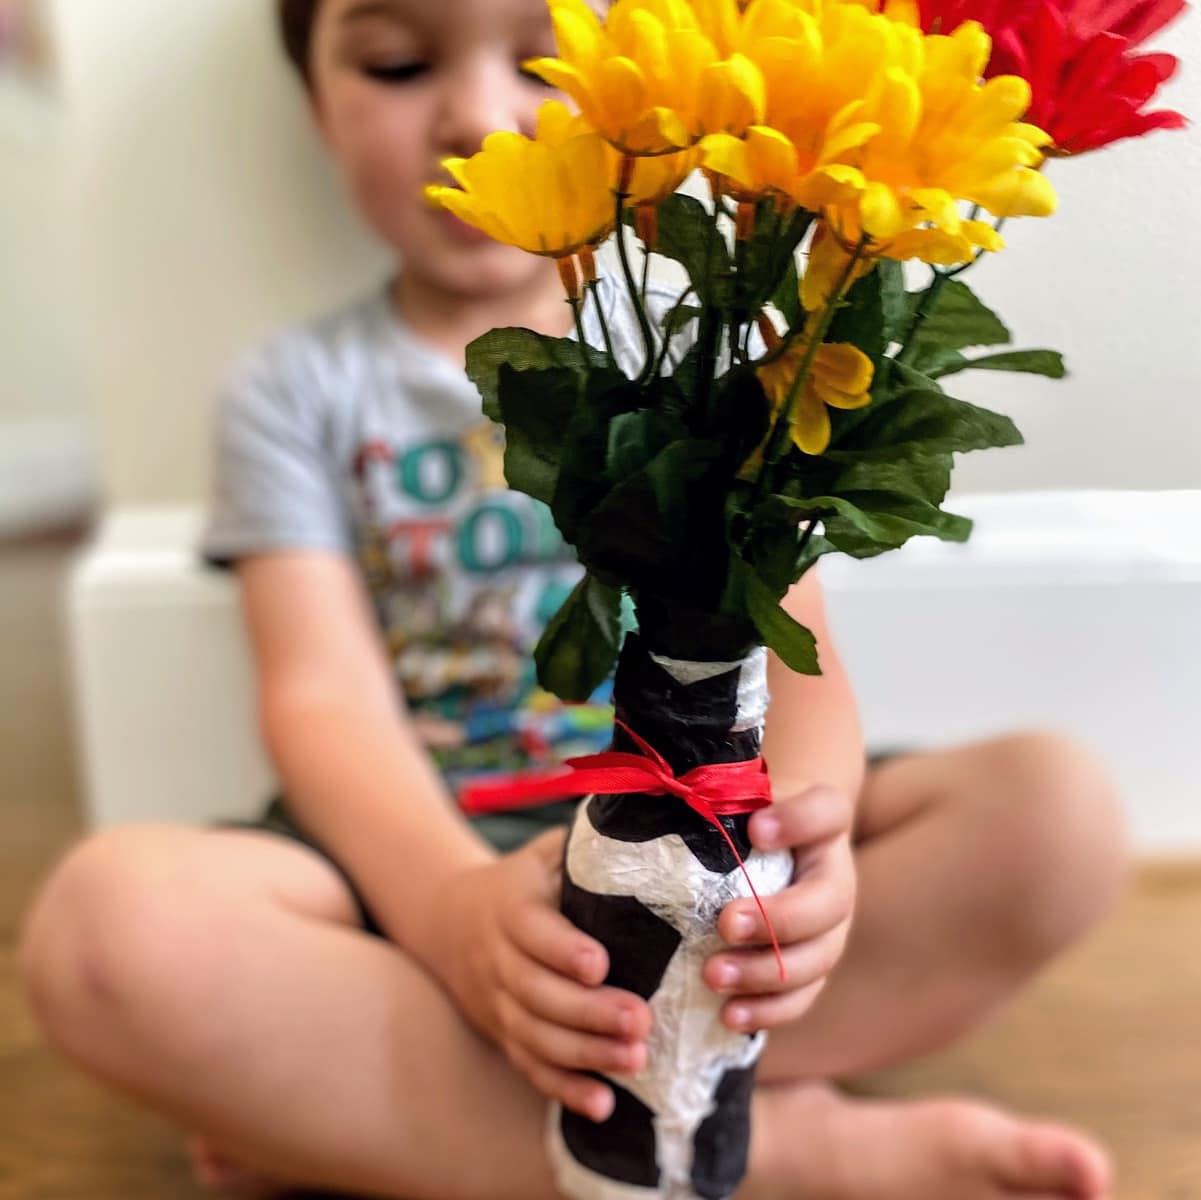
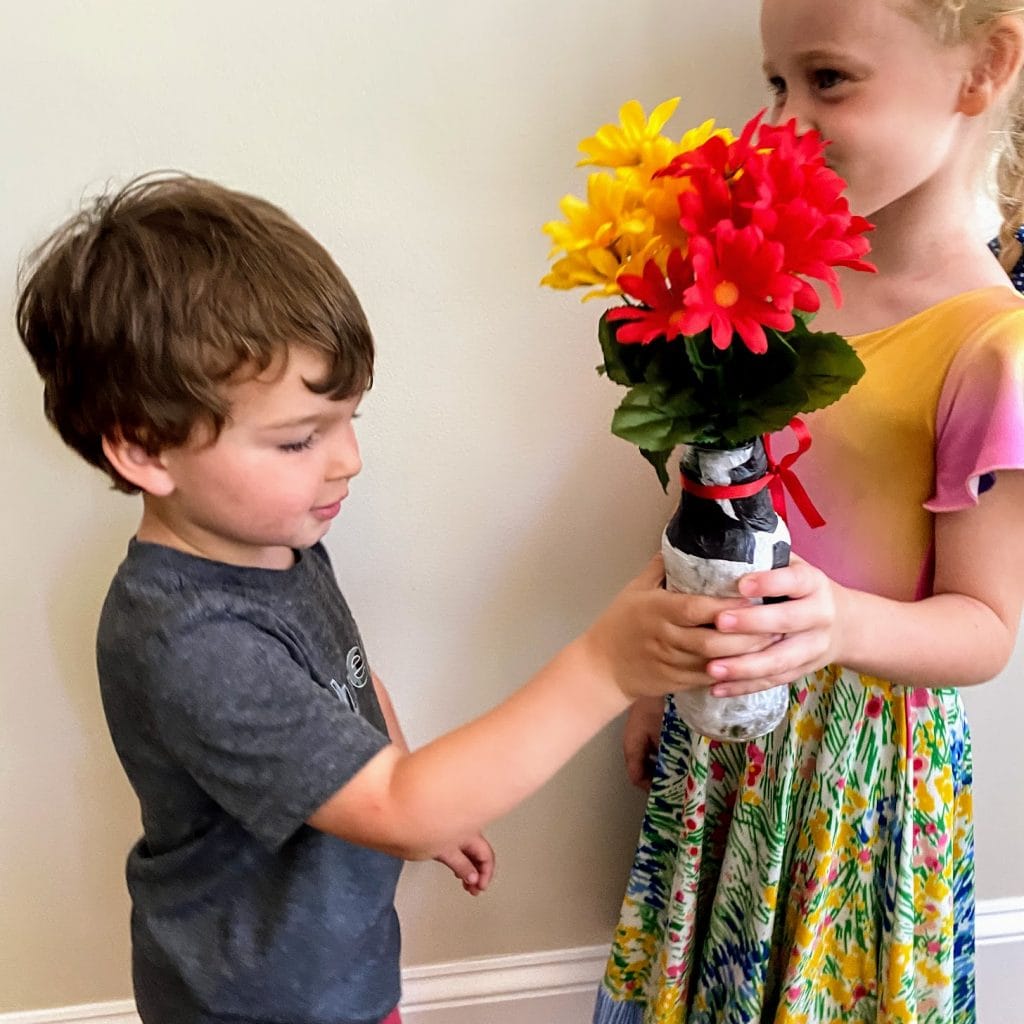
3. Once tissue paper has dried, tie red ribbon around the bottle's neck. We think the red ribbon offers a great contrast to the black and white tissue paper and gives the vase an elegant finish! Fill the vase with flowers and you have a beautiful centerpiece or gift for family, friends, or teachers.
🧶Other Crafts You May Like
Follow Platein28 on Pinterest, Instagram and Facebook and Sign up for our newsletter for all the latest recipes and crafts!
🌹Tissue Paper Vase
Materials
- glass bottle
- tissue paper white and black
- scissors
- Mod Podge or Elmer's Glue
- foam paint brushes
- red ribbon or yarn
Instructions
- Cut white tissue paper into several small squares (enough to cover whole bottle, with layers as needed). Cut out 5-10 black "spots" (or misshapen circles) of black tissue paper.
- Use Mod Podge or glue to cover the bottle with squares of white tissue paper. Layer as much as needed to cover any old labels or markings. Add 5-10 black spots on top of the white tissue paper.
- Tie red ribbon around the bottle's neck, fill with flowers and enjoy!
Notes
- Make sure your glass container is empty, cleaned and dry before crafting.
- Wait for tissue paper to dry before adding ribbon
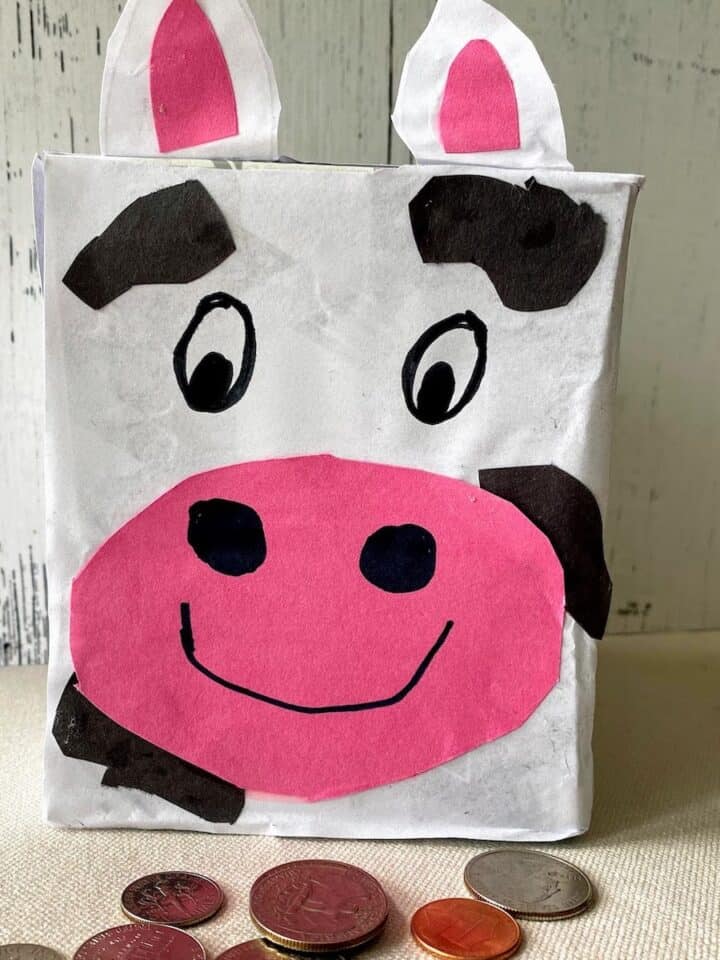
- Your lovely cow bottle recyclable craft can be used as a vase, paper weight, or piggy bank! Anything you want!
Want more 28-minute recipes and crafts? Sign up and get recipes straight to your inbox!

Leave a Reply